
Last updated November 4, 2026
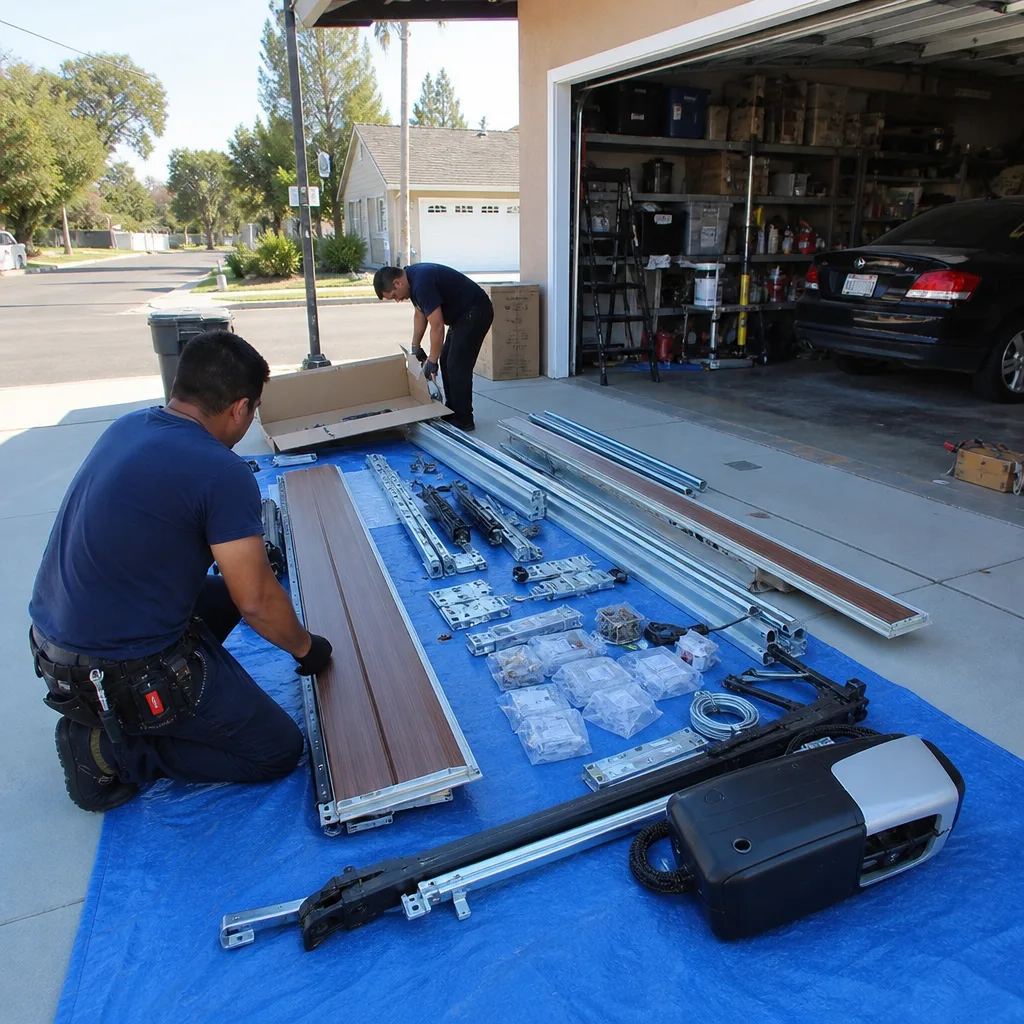
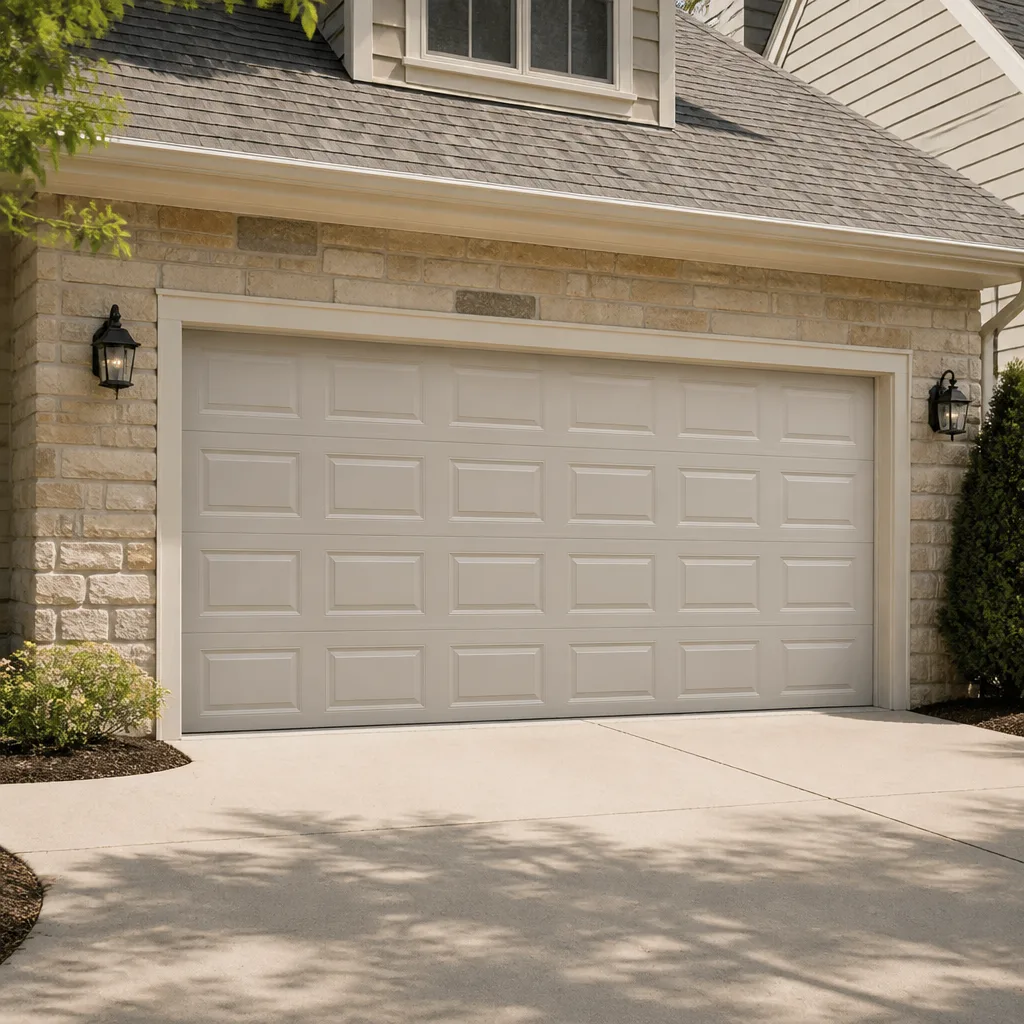 Raised-panel steel
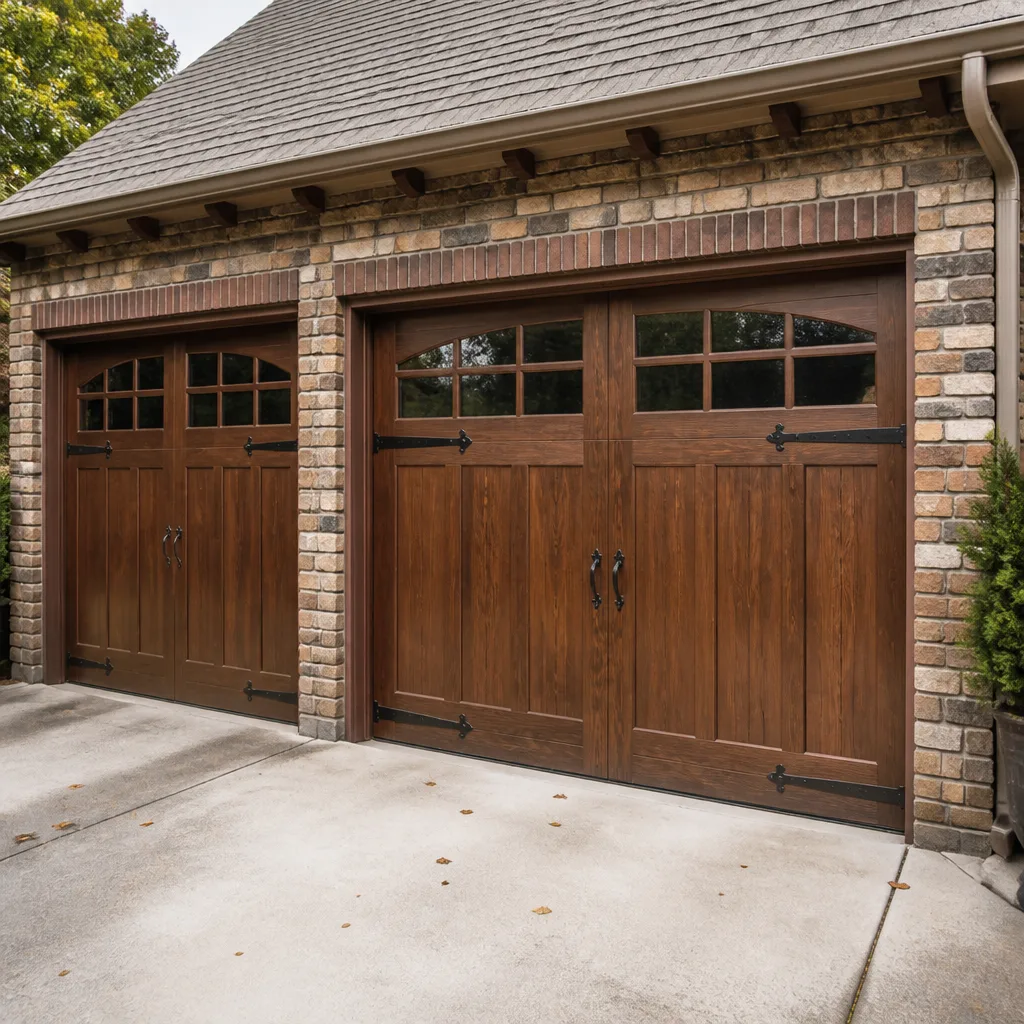 Carriage house
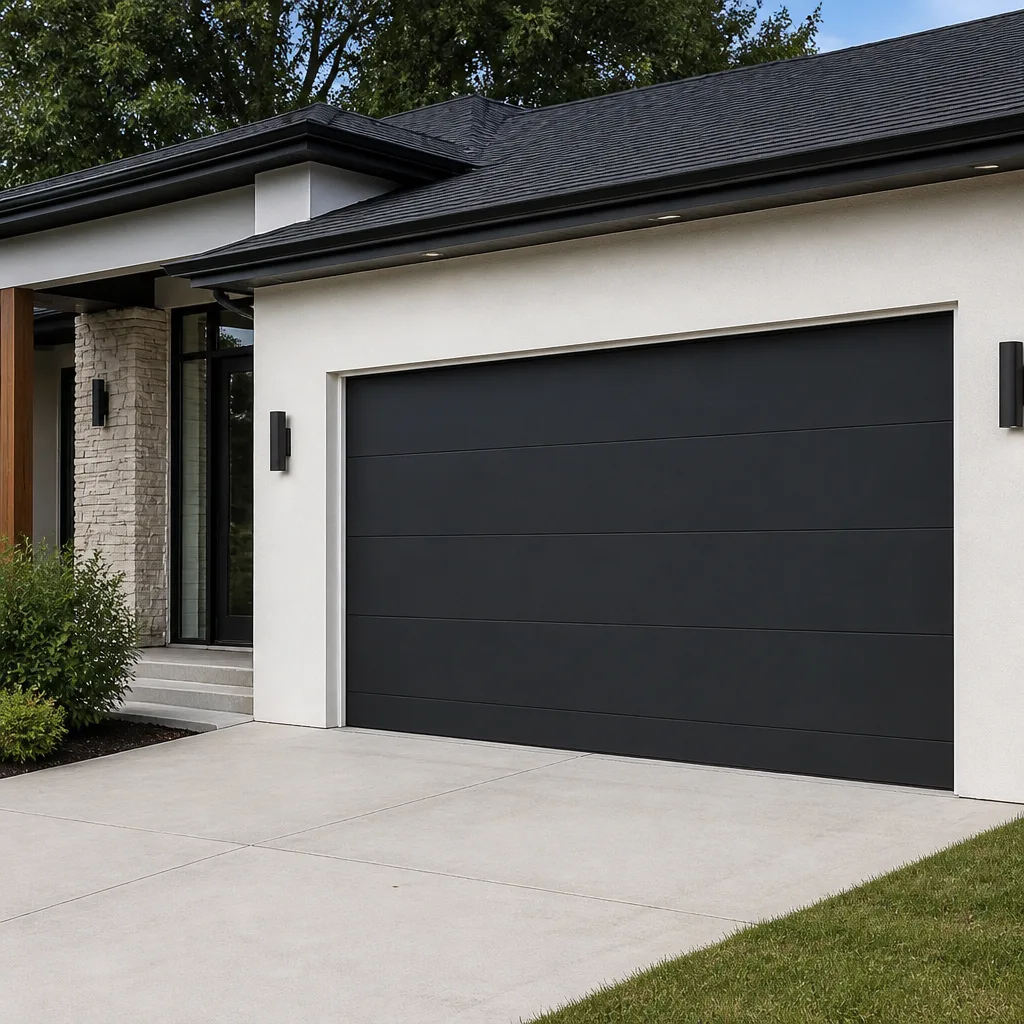 Modern flush
 Full-view glass
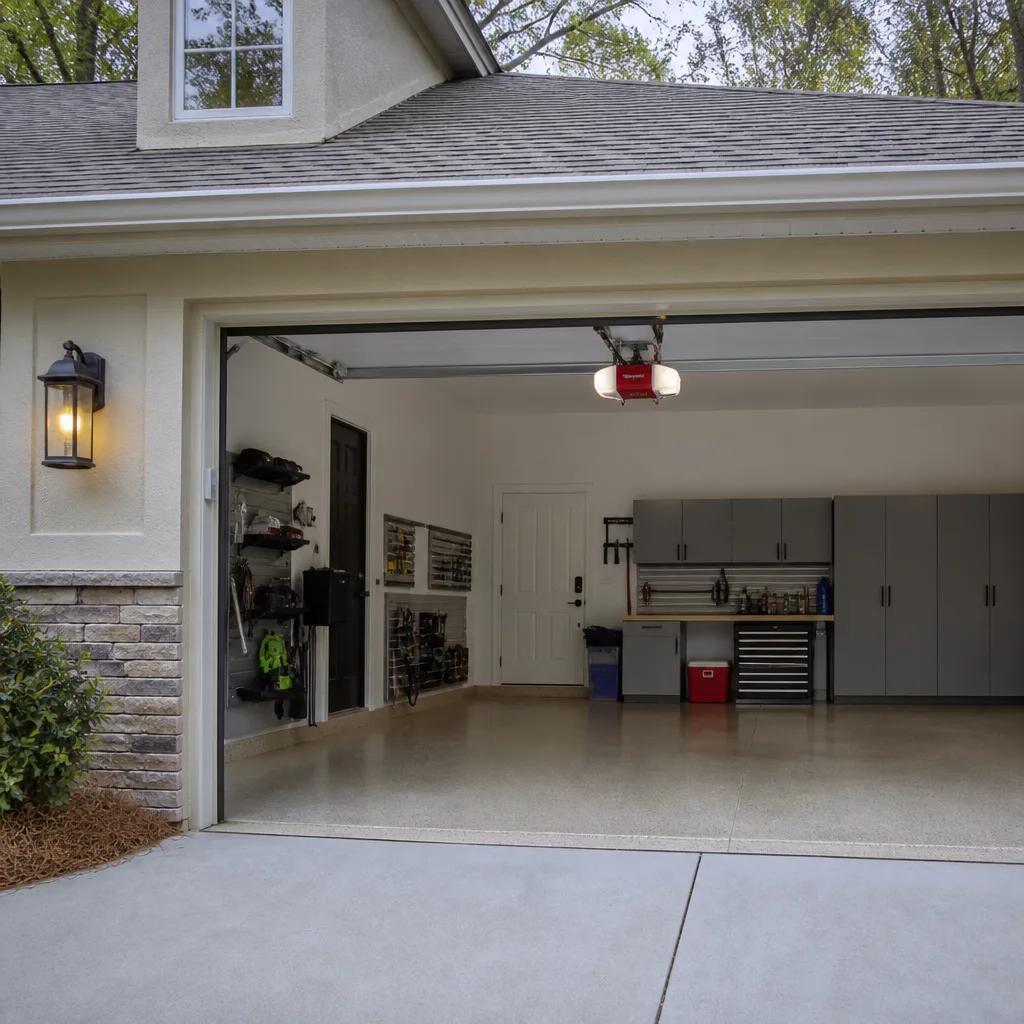 LiftMaster openers
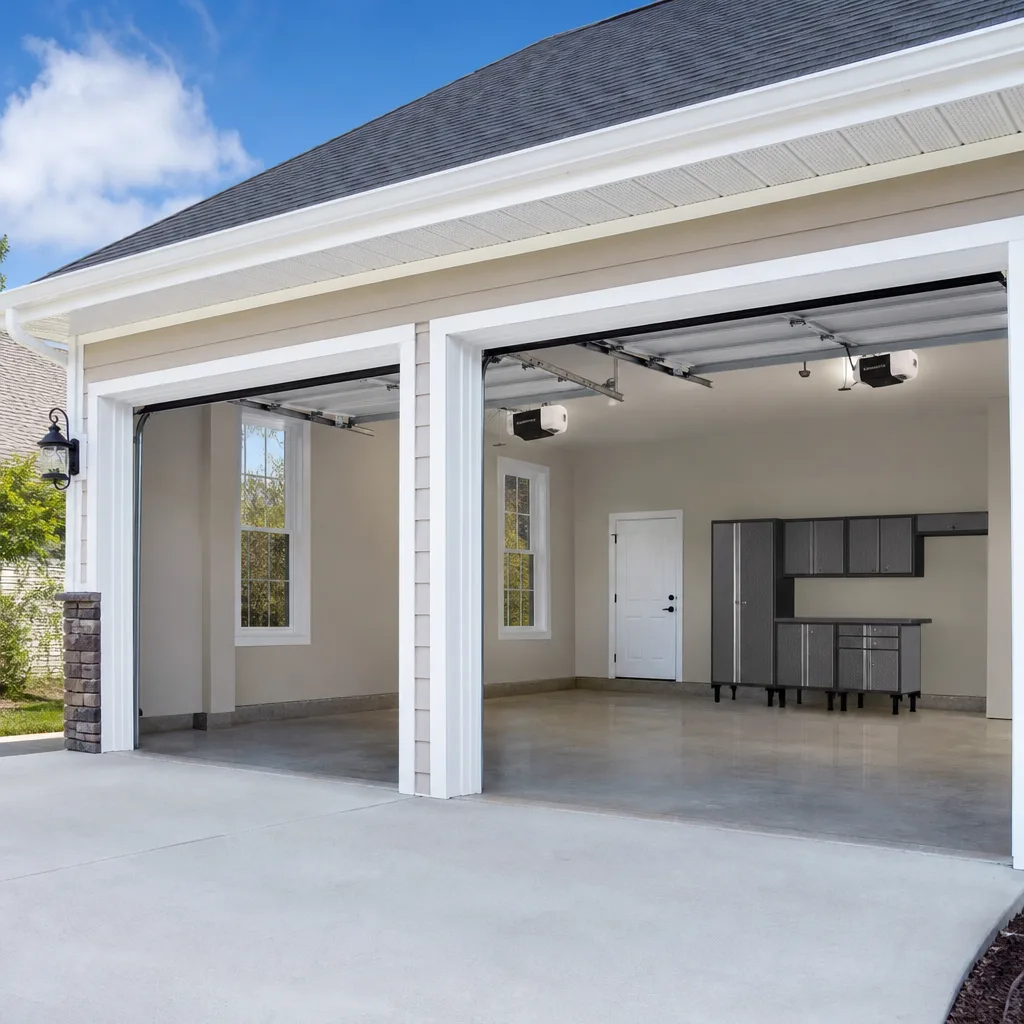 Chamberlain openers
Full 25-point door and opener safety check with every visit - springs, cables, rollers, tracks, and your LiftMaster or Chamberlain opener included
You get a price before we start. It does not change when the truck arrives.
Get your free estimateDIY vs Professional Garage Door: The Lakewood Homeowner’s Decision Guide
Most homeowners don’t realize that a garage door is the largest moving object in their home, and the torsion spring that lifts it is under more than 400 pounds of tension even when the door is sitting still. That single fact reframes the entire DIY question. This guide lays out which repairs a Lakewood homeowner with basic tools can safely handle, which ones demand a trained technician, and how to tell the difference before you’re standing in the garage holding a socket wrench and hoping for the best.
Quick Answer
DIY is reasonable for low-risk tasks like sensor realignment, weatherstrip replacement, and track lubrication, but torsion spring replacement, cable re-spooling, and opener motor work involve stored mechanical energy or electrical wiring that make professional service the only defensible choice. The parts for a DIY spring repair might cost $60 to $120, but an improperly wound spring can break a wrist or cause a facial fracture. For Lakewood homeowners, the practical rule is: if the repair requires a winding bar, a torque wrench, or opening the opener chassis, call a technician.
Styles & brands we work with
- Raised-panel steel
- Carriage house
- Modern flush
- Full-view glass
- LiftMaster openers
- Chamberlain openers
Table of Contents
- The Skill-and-Risk Tiers: What’s Actually DIY
- Torsion Springs: The Injury Vector Nobody Talks About
- Real Cost Comparison: DIY Parts vs Professional Service in Lakewood
- California Contractor Law: Where DIY Ends
- Warranty Voidance: What Self-Install Actually Costs
- Brand-Specific DIY Notes: LiftMaster, Chamberlain, Genie, Raynor
- Common Mistakes to Avoid
- When to Call a Professional
The Skill-and-Risk Tiers: What’s Actually DIY
Not all garage door work is created equal. Some tasks are genuinely homeowner-appropriate, requiring nothing more than a step ladder, a level, and patience. Others involve what we call stored mechanical energy, and that category deserves real respect. Here’s the tiered breakdown we use when Lakewood homeowners ask us whether a job is worth trying themselves.
Lakewood’s housing stock is largely single-family homes built between the 1940s and 1970s, which means most doors in the city are either original wood-panel doors or mid-life steel replacements. Both types respond the same way to the tier system below.
Tier 1: Genuinely DIY-Appropriate
- Sensor realignment: If your door reverses immediately after touching the floor, the photo-eye sensors near the bottom track are likely misaligned. Loosen the wing nut, adjust until the indicator light turns solid, tighten. Ten minutes, no special tools.
- Weatherstrip replacement: The rubber strip along the bottom of the door hardens and cracks in Lakewood’s summer heat. A $20 replacement strip slides into the retainer channel. Utility knife, tape measure, done.
- Track lubrication: Squealing isn’t a warning sign; it’s a maintenance signal. White lithium grease on rollers and hinges quiets the door and reduces wear. Avoid WD-40, which attracts dust.
- Remote reprogramming: If your opener responds intermittently, the remote may have lost its code. Most LiftMaster and Chamberlain units have a “Learn” button on the motor head. Hold it, press the remote button, wait for the click.
Tier 2: Borderline, Depends on Your Toolbox
- Roller replacement: Nylon rollers with sealed bearings wear out every 7 to 10 years. Replacing the bottom two rollers requires unbolting the bottom fixture, which is under spring tension. Top rollers are safe; bottom rollers are not.
- Hinge replacement: Door hinges bolt on with 7/16-inch nuts. Simple, unless the hinge is cracked at a stress point near the bottom panel, which usually means the panel itself is failing.
- Opener chain tightening: A sagging chain causes jerky movement. The tension adjustment bolt is accessible without opening the chassis, but overtightening is a common DIY error that burns out the gear.
Tier 3: Professional Only
- Torsion spring replacement: The wound spring above the door stores enough energy to break bones. Never a DIY task.
- Cable replacement: Lift cables run through the spring assembly. When a cable snaps, the remaining cable is holding the door lopsided, and the spring is still under tension. The most dangerous moment in garage door repair is working on a door with one broken cable.
- Opener motor replacement: The chassis contains a capacitor that holds a charge even when unplugged. Opening it without discharging the capacitor is an electrical shock risk.
- Track replacement or realignment: Tracks bear the full weight of the door and must be shimmed precisely. A track that comes loose mid-operation drops the door, which weighs between 130 and 400 pounds.
We work on all of these systems daily at Garage Door Service Lakewood, and the honest assessment we give homeowners is: Tier 1 is yours, Tier 2 is yours if you’re comfortable with a torque wrench and can read a bubble level, Tier 3 is ours.
Torsion Springs: The Injury Vector Nobody Talks About
The torsion spring is the component that does the actual lifting. It sits on a steel shaft above the door opening, and when the door is down, that spring is loaded with enough rotational force to turn a human forearm into a pretzel. This isn’t alarmist language. It’s the mechanical reality that makes torsion spring work the single most dangerous DIY task in residential home maintenance.
Here’s the part most guides gloss over: the injury doesn’t happen because the spring is weak. It happens because the spring is strong, and the DIYer doesn’t have the right tools to control it. Professional torsion spring replacement requires:
- Winding bars: Two solid steel rods, usually 18 inches long and 1/2 inch in diameter, that insert into the winding cone at the end of the spring. These are not interchangeable with screwdrivers, rebar, or anything else in a typical garage. The torque applied during winding reaches 50 to 80 foot-pounds, and a screwdriver will bend, slip, and release that energy unpredictably.
- Spring gauge measurements: The wire diameter, inside diameter, and length of the old spring determine the replacement. A gauge mismatch means the door won’t balance, and the opener will burn out trying to compensate.
- Torque counting: The number of quarter-turns required to wind a spring is determined by the door height and spring size. Too few turns and the door is heavy; too many and the spring overloads and breaks early.
- Set-screw management: Every spring cone has two set screws that lock the spring to the shaft. They must be tightened in sequence, in specific positions, with a specific technique. An improperly seated set screw is the leading cause of spring explosions during the first month after installation.
Lakewood garages often have single-car doors that use one spring or double-car doors that use two. When one spring breaks on a two-spring door, the temptation is to replace only the broken one. That’s a false economy. Springs are rated for a specific cycle count, usually 10,000 to 20,000 cycles, and when one fails, the other is typically within the same usage window. Replacing a pair costs about twice the single-spring price, but it prevents a second service call within six months.
If you’re holding a screwdriver and staring at a broken spring, put it down. The winding bar is the tool that keeps you safe, and if you don’t own winding bars, you don’t own the tools for this job.
Real Cost Comparison: DIY Parts vs Professional Service in Lakewood
The math of DIY garage door repair looks obvious on paper: buy the part, skip the labor, save money. In practice, the math only works on Tier 1 tasks. Here’s a transparent breakdown of the five most common repairs we handle in Lakewood, with typical DIY parts costs compared to professional installed pricing.
| Repair | DIY Parts Cost | Professional Installed Cost | DIY Risk Level |
|---|---|---|---|
| Weatherstrip replacement | $20-$40 | $90-$140 | Low |
| Sensor realignment | $0-$15 | $80-$130 | Low |
| Roller replacement (full set) | $30-$70 | $120-$180 | Medium |
| Cable replacement (both sides) | $25-$50 | $180-$280 | High |
| Torsion spring replacement (pair) | $120-$240 | $300-$450 | Very high |
Those professional figures include the part, the labor, and the balancing and safety check afterward. The DIY figures don’t include the trip to the parts counter, the wrong-part exchange, the second trip for the right tool, or the time spent watching instructional videos.
The hidden cost of DIY on the high-risk items is the one nobody budgets for: a trip to urgent care. A facial fracture from a spring release runs into the thousands, to say nothing of the lost work time. When Lakewood homeowners ask us whether they should do the spring themselves, our answer is consistent: the savings of $200 or so isn’t worth the downside.
The one exception where DIY genuinely pays off is the weatherstrip. It’s a material cost of less than $40, the labor takes about 20 minutes, and the failure mode is simply an ugly or slightly misaligned strip that you replace again. Nothing gets injured except possibly your pride.
California Contractor Law: Where DIY Ends
Here’s a nuance most guides never touch. California law is clear about who can perform paid construction and repair work. A homeowner working on their own property is exempt from contractor licensing requirements for most residential work. That exemption covers your own home, and it covers you working alone or with family.
But here’s where Lakewood homeowners can accidentally step over the line: if you help a neighbor replace their door or opener and they pay you for it, you’ve just performed work that requires a California contractor’s license in most circumstances. The legal threshold isn’t about the dollar amount. It’s about performing work for compensation on property you don’t own.
California’s Contractors State License Board requires any individual who contracts for work over $500 in labor and materials to hold a valid license. Even below that threshold, performing garage door work for pay without a license exposes both parties to real liability. If the door later fails and damages a car or injures someone, the unlicensed “helper” has no insurance, no bond, and no legal standing to defend the work.
The takeaway for Lakewood homeowners: DIY on your own door is legal and often sensible for low-risk tasks. DIY on a neighbor’s door in exchange for cash, pizza, or a case of beer is a liability trap. This is one area where professional garage door repair isn’t just about skill. It’s also about insurance, bonding, and the legal standing to stand behind the work.
Warranty Voidance: What Self-Install Actually Costs
A garage door opener isn’t a toaster. The leading manufacturers write their warranties around the assumption that a qualified technician handles installation, and they enforce those assumptions when a claim comes in.
LiftMaster and Chamberlain, which are both owned by the Chamberlain Group, state in their warranty language that damage caused by improper installation voids coverage. That means a homeowner who installs a $250 opener themself and misjudges the rail alignment has no recourse when the gear strips three months later. The manufacturer’s position is simple: the failure was caused by the installation, not the product.
Genie uses similar language, voiding warranty coverage for failures attributable to installation errors, unauthorized modifications, or use of non-Genie parts. Raynor’s warranty terms run the same direction, specifically excluding damage from improper tensioning or component mismatch.
For doors themselves, Clopay and Amarr warranty coverage typically requires that installation follow manufacturer specifications. A door that’s hung out of square, with springs improperly wound, will sag, bind, and eventually crack panels. When the homeowner files a warranty claim, the first question is whether a professional handled the install. The claim often dies right there.
The practical effect for Lakewood homeowners: the money “saved” by self-installing a new opener or door can evaporate completely if a defect appears and the warranty is void. Professional installation preserves the warranty because the installer is accountable to the manufacturer’s specifications. At garage door opener repair, we routinely see homeowners who self-installed an opener incorrectly and are now paying full freight for a repair that should have been covered.
Brand-Specific DIY Notes: LiftMaster, Chamberlain, Genie, Raynor
Lakewood garages run the full spectrum of opener brands, and each has its own quirks when it comes to DIY interaction. Here’s what’s reasonable to touch versus what’s a technician’s job, brand by brand.
LiftMaster: The most common opener in residential Lakewood, especially the belt-drive models with MyQ smart-home integration. The Learn button reprogramming sequence is genuinely DIY-friendly, and LiftMaster’s documentation is the clearest in the industry. But the DC motors in modern LiftMaster units have a soft-start/soft-stop feature that requires precise limit-setting during installation. Get it wrong and the door either overshoots or reverses prematurely. We service these units daily and recommend professional attention for anything beyond remote pairing and sensor alignment.
Chamberlain: Same parent company as LiftMaster, same MyQ platform, but positioned as the retail-accessible line. You’ll find Chamberlain openers at big-box stores, which means they’re the most commonly self-installed unit in Lakewood. The DIY track record on Chamberlain is mixed: the units are decent, but homeowner installation errors are common, particularly with rail assembly and force settings. If the door stops halfway and reverses, the force setting is the first variable to check, and adjusting it wrong is how doors run through their own panels.
Genie: The Intellicode remote system and the screw-drive models have their own maintenance profile. The screw needs lubrication on a schedule, and neglect turns the rail into a grinding liability. Genie’s warranty enforcement around unauthorized parts is strict, so DIY motor repairs on a Genie opener are a fast route to an uncovered claim. Sensor realignment and lubrication are fine. Capacitor replacement is not.
Raynor: A legacy brand with a strong niche in heavier doors and commercial-grade residential models. Raynor doors often use torsion systems with higher cycle ratings, and the springs are rated accordingly. That means the stored energy in a Raynor spring is often higher than a comparable residential door from another brand. We advise the same professional-only rule here, with even less hesitation.
The brand-agnostic approach we take at Garage Door Service Lakewood is built around this reality: no single brand covers every Lakewood home, and the technicians who work on all of them see the failure patterns that brand-specific dealers never encounter.
Common Mistakes to Avoid
- Winding with screwdrivers or rebar: Improvised winding bars are the single biggest injury vector in garage door DIY. A screwdriver has a round shaft that slips under torque. A proper winding bar has a specific diameter to fill the winding cone hole and enough length to provide leverage and control. If the “tool” bends, you’re applying force to a surface that was never meant to hold it.
- Replacing one spring instead of two: On a two-spring door, both springs share the load equally. When one breaks, the other has already cycled the same number of times and is fatigued to the same degree. Replacing one spring means the old spring will fail soon, and the door will run unbalanced in the meantime, stressing the opener.
- Thinking “the door works, so the spring is fine”: A door that opens but feels heavy when manually lifted is a spring losing tension. A correctly balanced door stays in place at the halfway point when released. A door that drifts or slams is a warning sign, not a convenience issue.
- Lubricating the wrong parts: Homeowners regularly spray WD-40 on all moving parts, which attracts dust and creates a gritty paste on the track. The correct application is white lithium grease on hinges and rollers, and nothing on the track itself. A greased track is a door that slides poorly and stains the weatherstrip.
- Forcing a door that’s clearly binding: If the door sticks and you disengage the opener and shove, you’re forcing a system that’s already failing. Binding usually means a track alignment problem, a broken roller, or cable slack. Forcing it compounds the damage and can drop the door entirely.
- Ignoring the balance test: Pull the release handle and lift the door manually. A properly balanced door moves smoothly and stays open at about chest height. A door that fights you or drops is telling you the spring is worn. Every Lakewood homeowner should know this test, and very few do.
- Assuming smart-home integration means no maintenance: A LiftMaster opener connected to a phone app still has physical springs, cables, and rollers doing the actual work. The app tells you the door is open. It doesn’t tell you the spring has 500 cycles left.
When to Call a Professional
Call us when the repair touches stored mechanical energy: torsion springs, cables, or a door that’s off its track. Call when the opener chassis needs opening, the capacitor needs handling, or the motor shows signs of electrical failure. Call when the door is unbalanced, when one cable is dangling, or when a panel is cracked at the hinge line. These aren’t aspirational thresholds. They’re the difference between a fixed door and a hospital co-pay.
For everything else, the honest answer is: try the Tier 1 stuff yourself. If it doesn’t work, or if you get halfway in and realize you don’t have the right tool, stop. Don’t improvise. Lakewood homeowners who call us at that point still get the repair done, and they’ve learned something about their door in the process. Garage Door Service Lakewood offers free estimates in Lakewood. Call (866) 596-9807.
See the difference
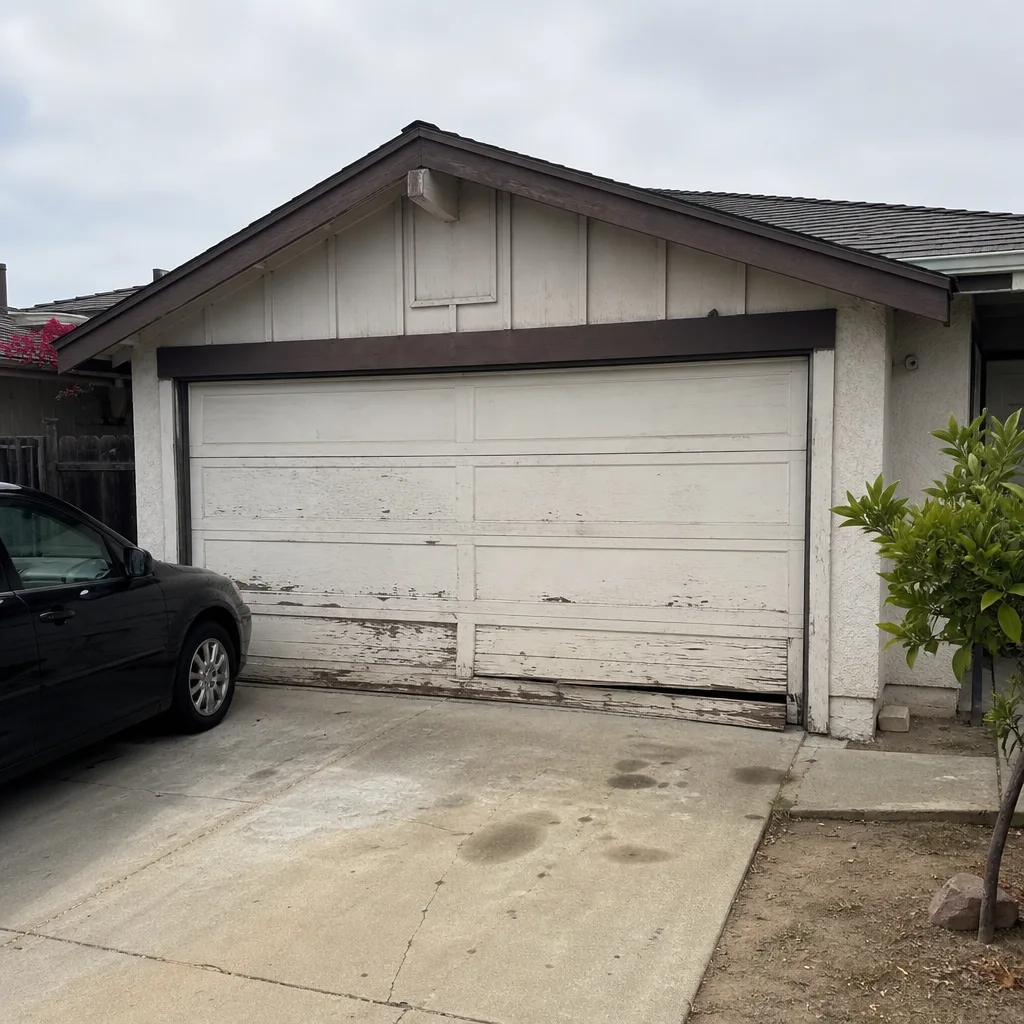 Before
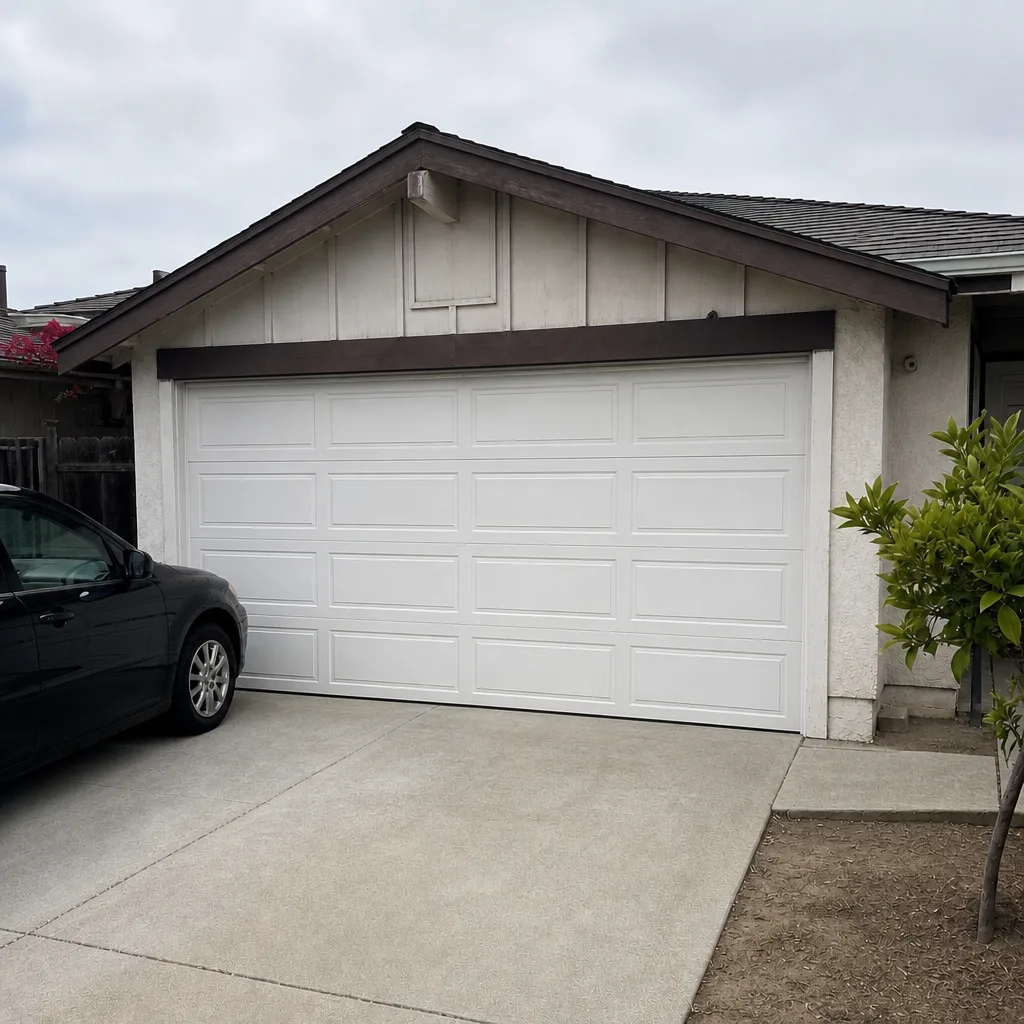 After
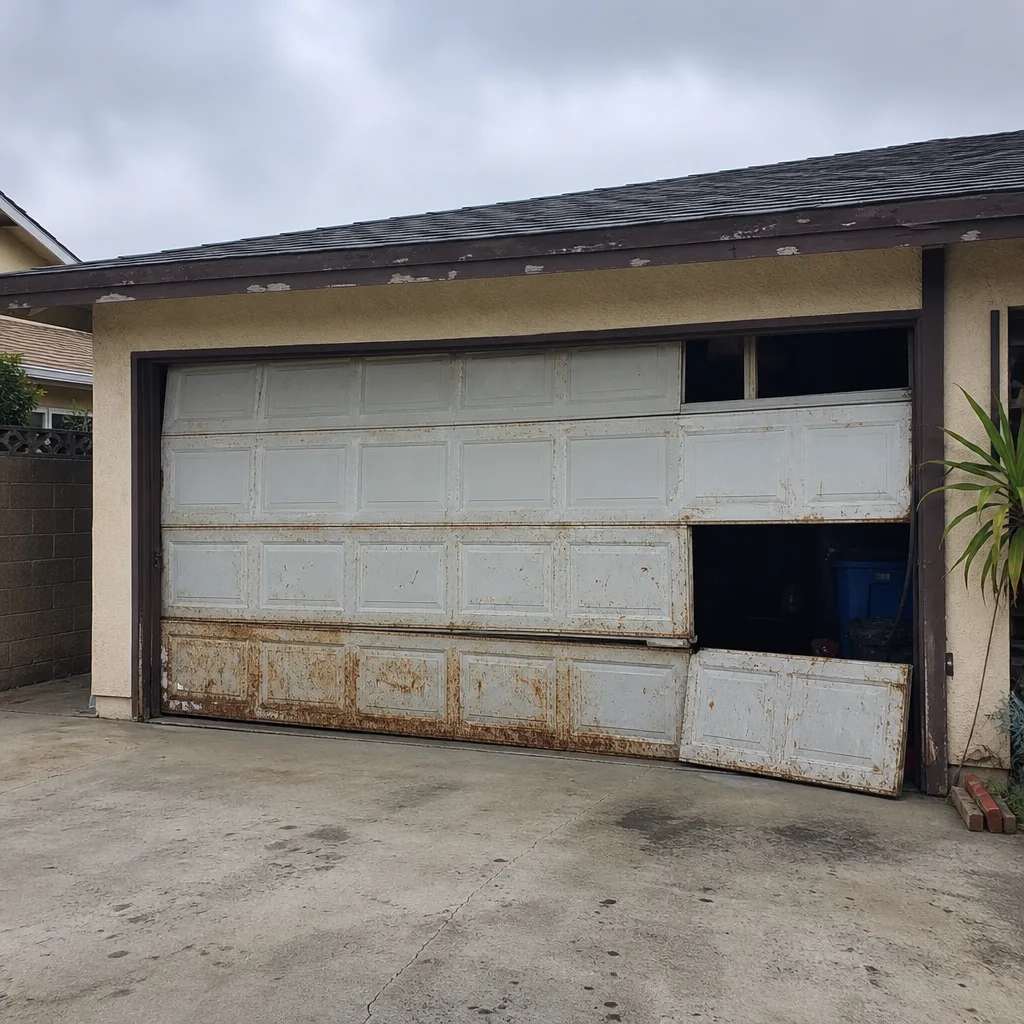 Before
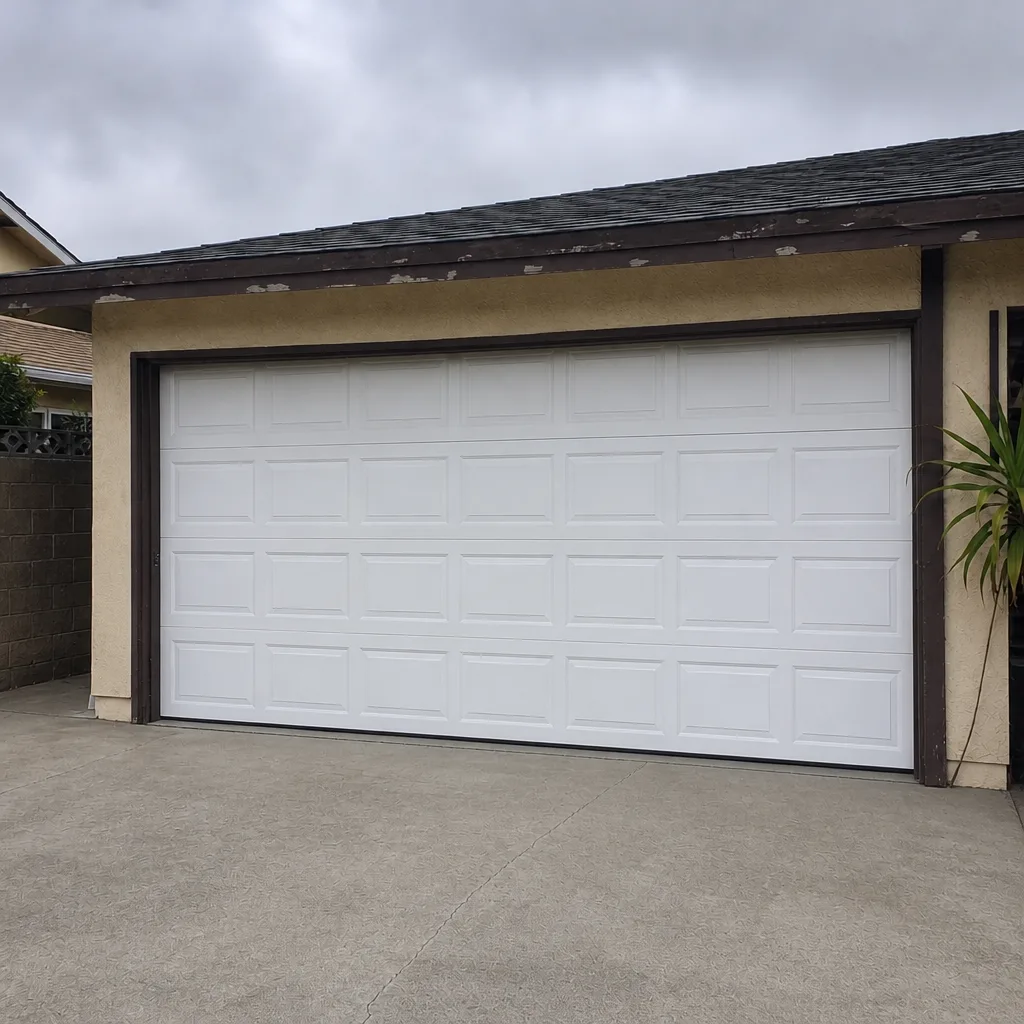 After
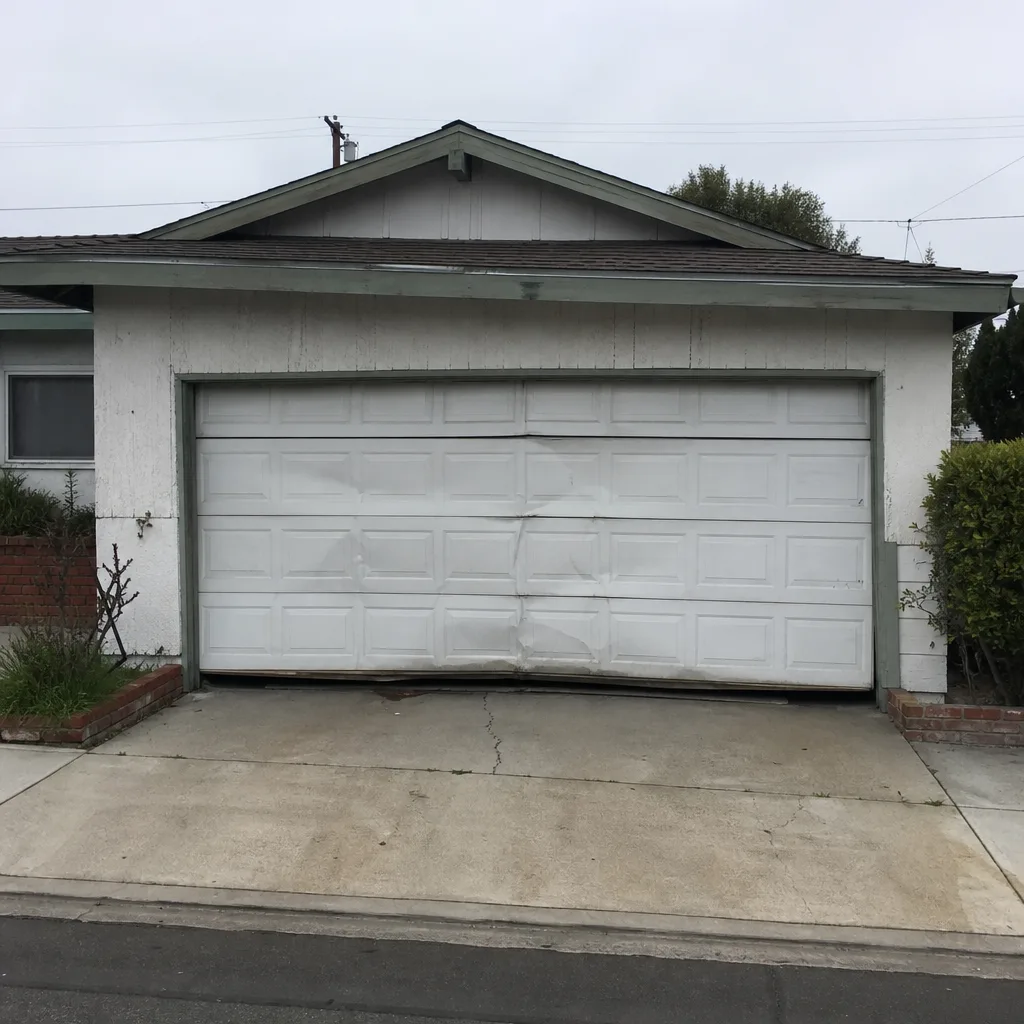 Before
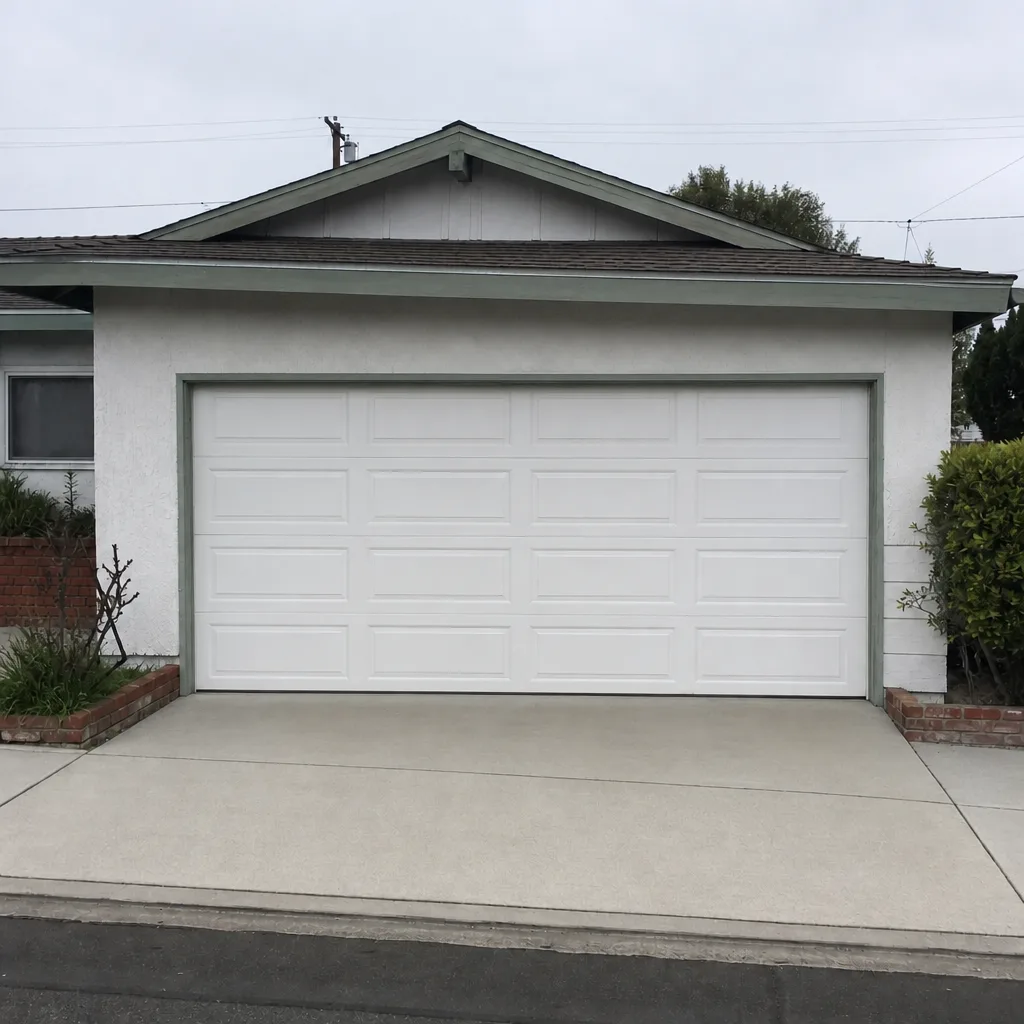 After
Frequently Asked Questions
You can, but you shouldn’t. Torsion springs are under enough tension to break bones when improperly wound, and the specialized winding bars required for safe replacement aren’t in most homeowners’ toolboxes. Professional spring replacement in Lakewood typically runs $300 to $450 for a pair, installed and balanced, which is the only repair outcome that matters.
Sensor realignment, weatherstrip replacement, track lubrication, and remote reprogramming are all genuinely homeowner-appropriate. These tasks require only hand tools, a step ladder, and patience. They don’t involve stored mechanical energy, and the failure mode isn’t dangerous. Start there before calling anyone.
Typical professional repairs in Lakewood run from about $80 for a sensor realignment to $450 for a full torsion spring pair replacement. These are installed prices that include parts, labor, and the balancing check afterward. The written estimate sets the final price before any work starts.
Often yes. LiftMaster, Chamberlain, Genie, and Raynor all include warranty language that excludes damage caused by improper installation or unauthorized repairs. A homeowner who self-installs an opener and miscues the rail alignment has no coverage when the gear strips, because the failure traces back to installation error rather than product defect.
Most residential garage door repairs in Lakewood don’t require a permit, including spring, cable, and opener replacement. New door installation may trigger permit requirements in some circumstances, so it’s worth asking Lakewood’s building department before starting a full replacement project.
No, in most cases that crosses into unlicensed contractor territory under California law. The homeowner exemption applies to work on your own property. Performing paid work on someone else’s door, even for a small fee, triggers licensing requirements and leaves you personally liable if the repair later fails and causes damage or injury.
The Bottom Line
The DIY-vs-professional decision for garage doors isn’t a single answer. It’s a tier. Weatherstrip, sensors, lubrication, and remote programming are homeowner work. Rollers and hinges are borderline, depending on your comfort with a wrench and your ability to recognize when something’s beyond you. Springs, cables, tracks, and opener internals are professional territory, full stop. The risk isn’t theoretical. It’s the difference between a $300 repair and a broken arm. Lakewood homeowners who respect that line get their doors fixed correctly the first time, and they don’t pay for the same repair twice.
Written by the team at Garage Door Service Lakewood, serving Lakewood since 2013.