
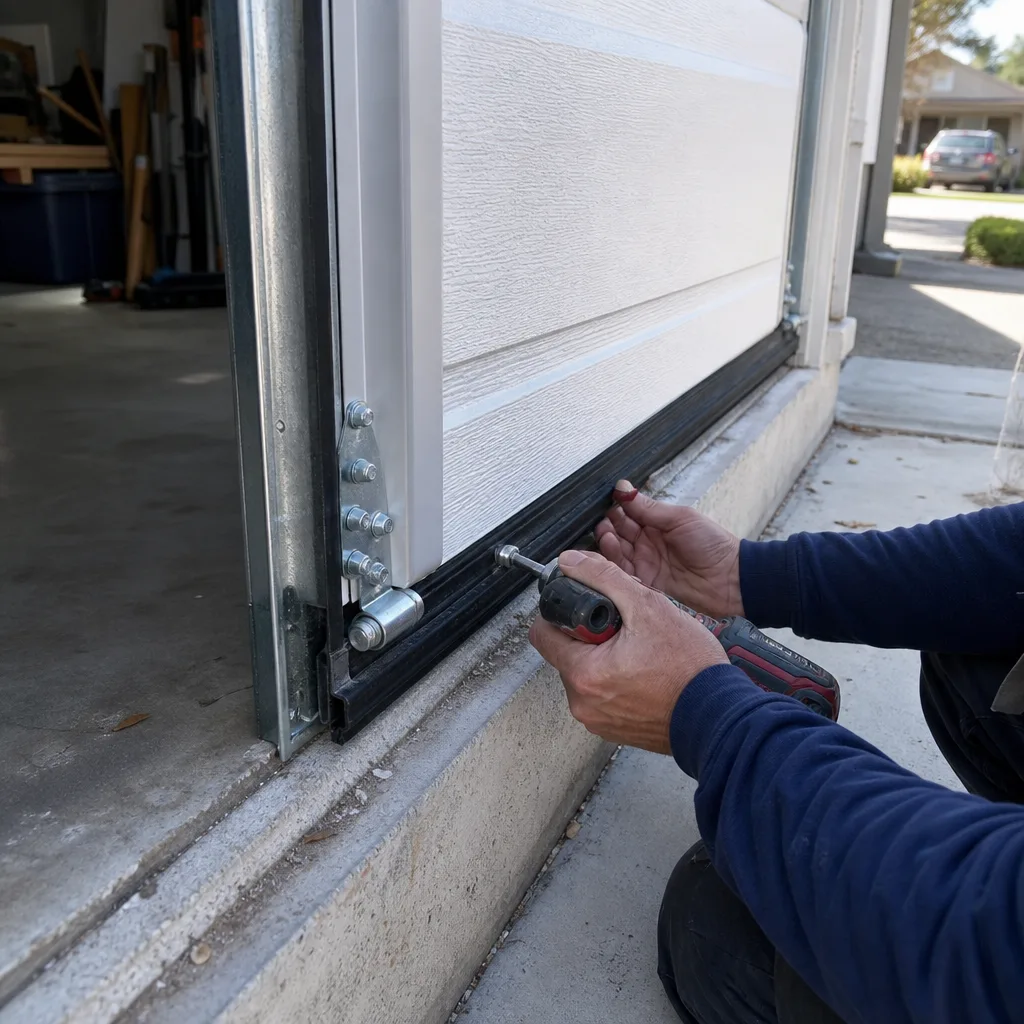
Last updated November 4, 2026
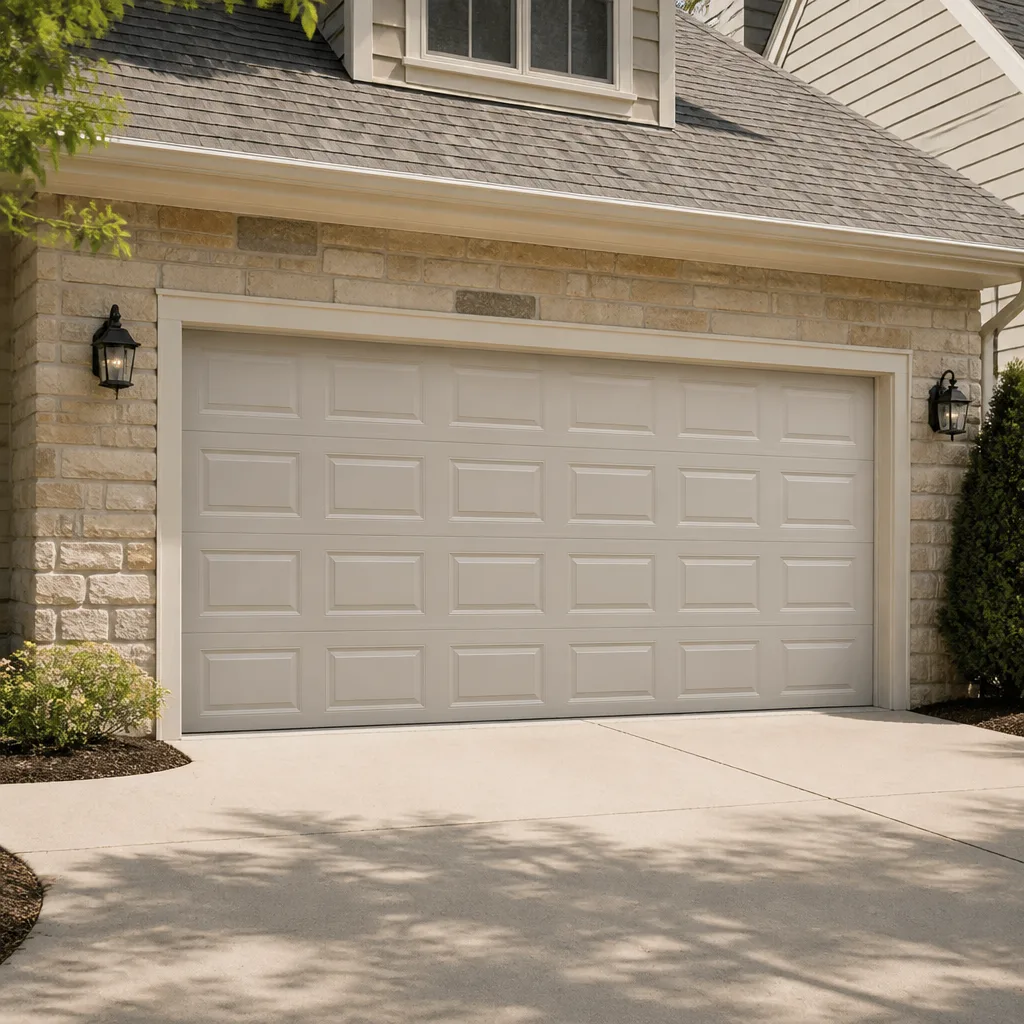 Raised-panel steel
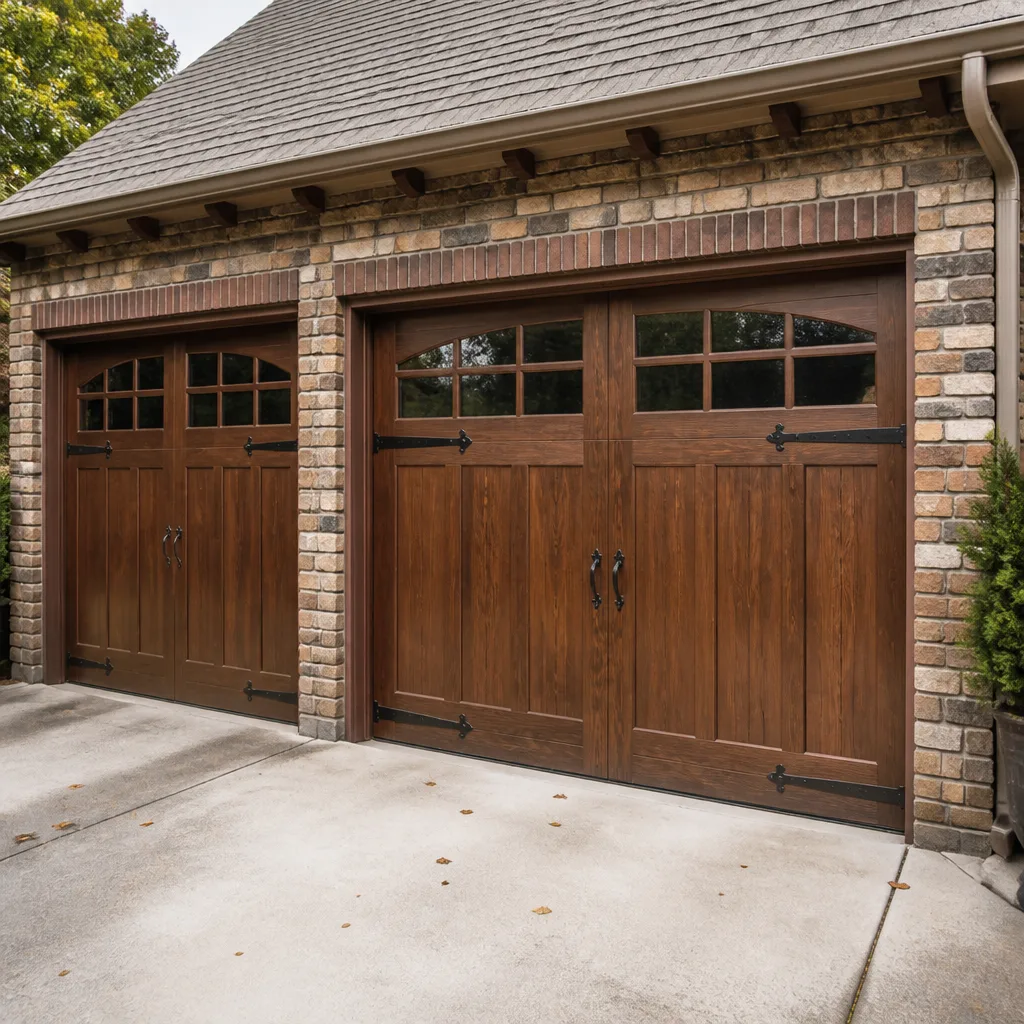 Carriage house
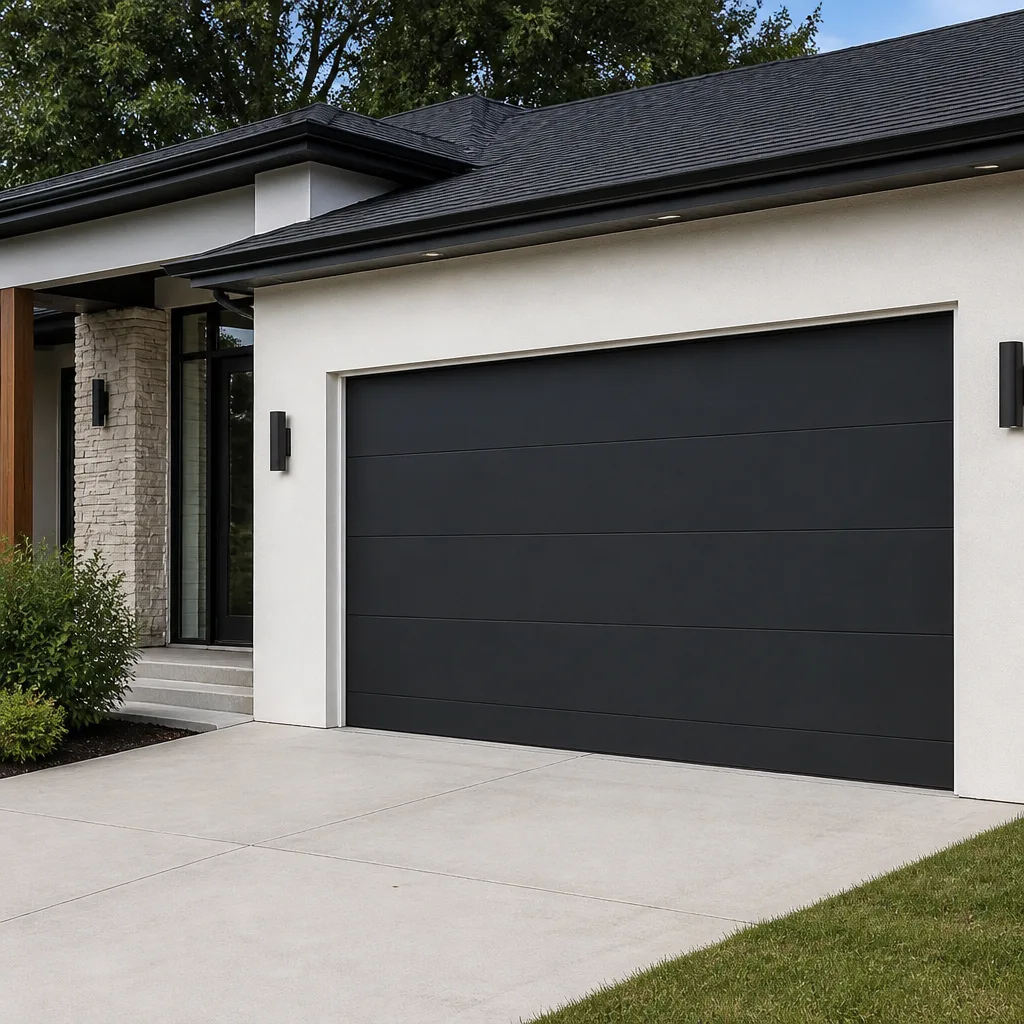 Modern flush
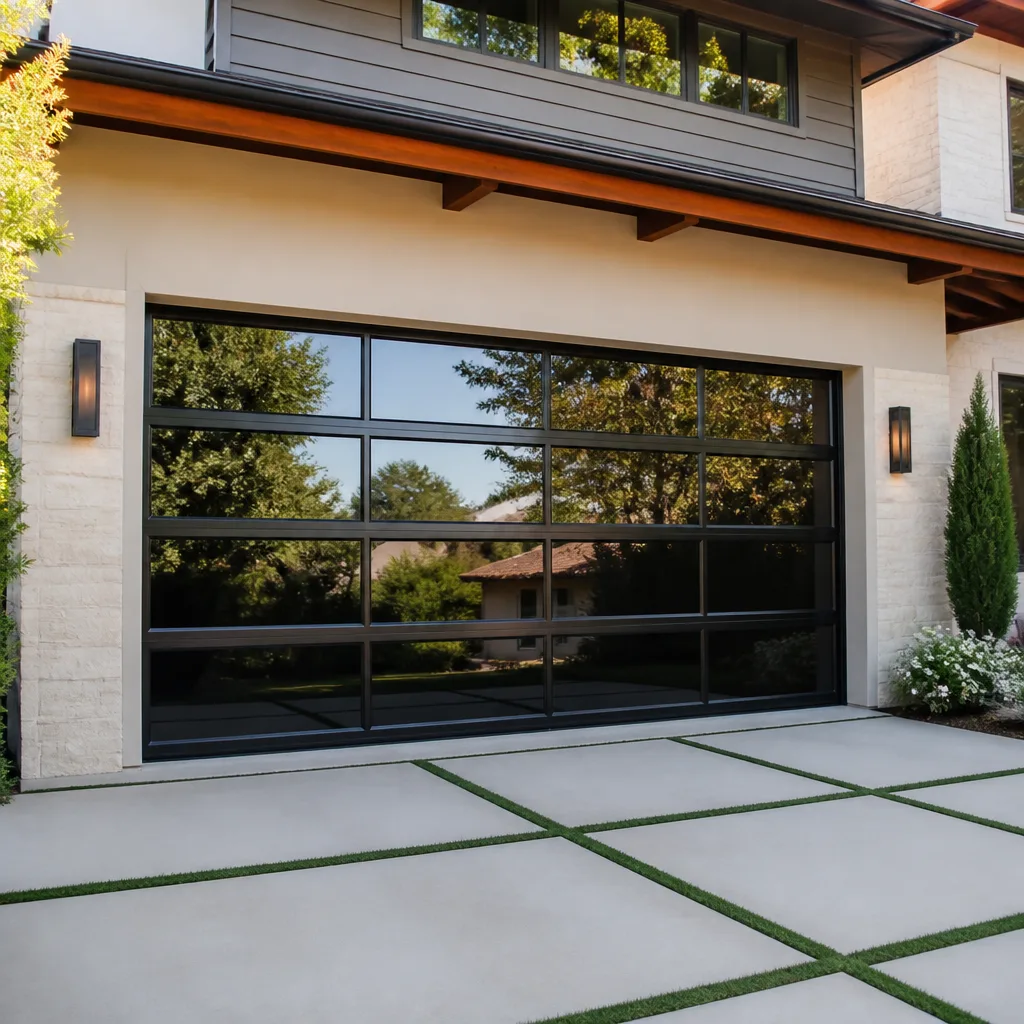 Full-view glass
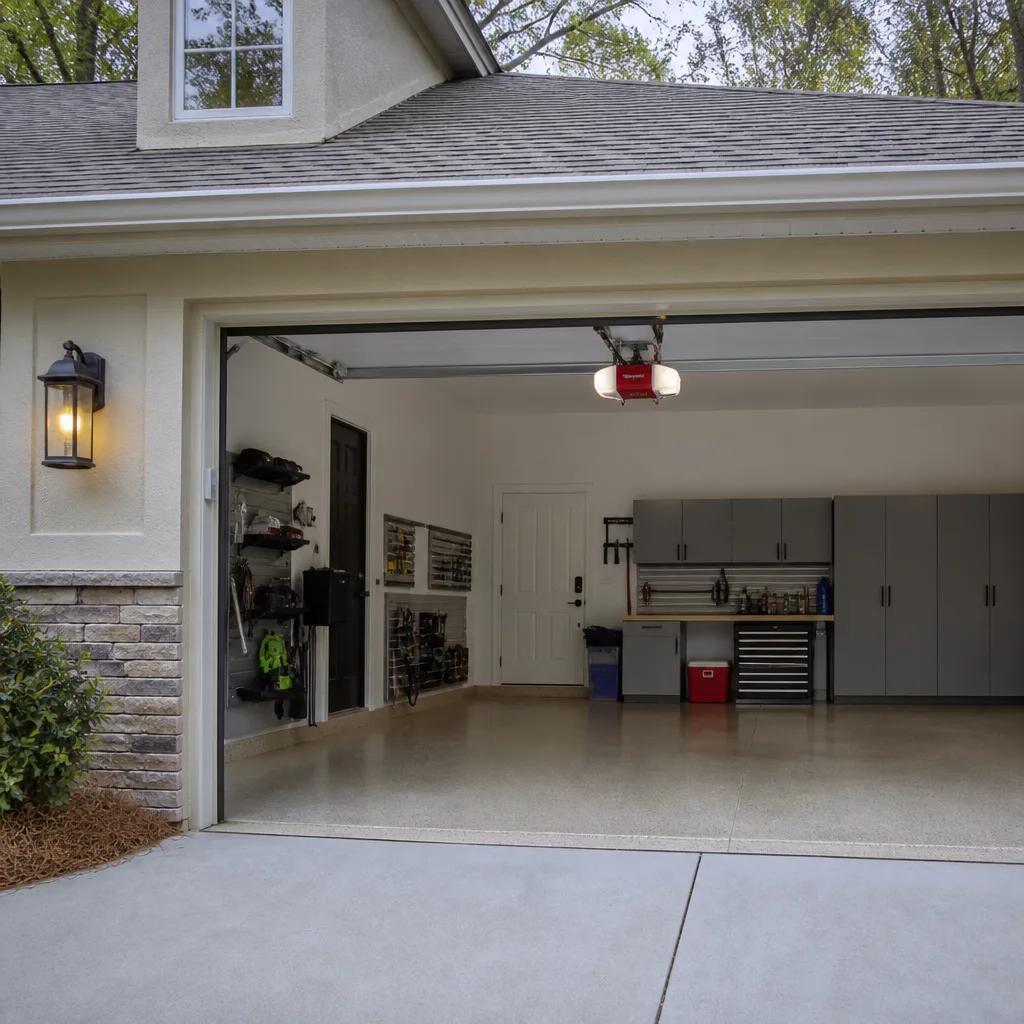 LiftMaster openers
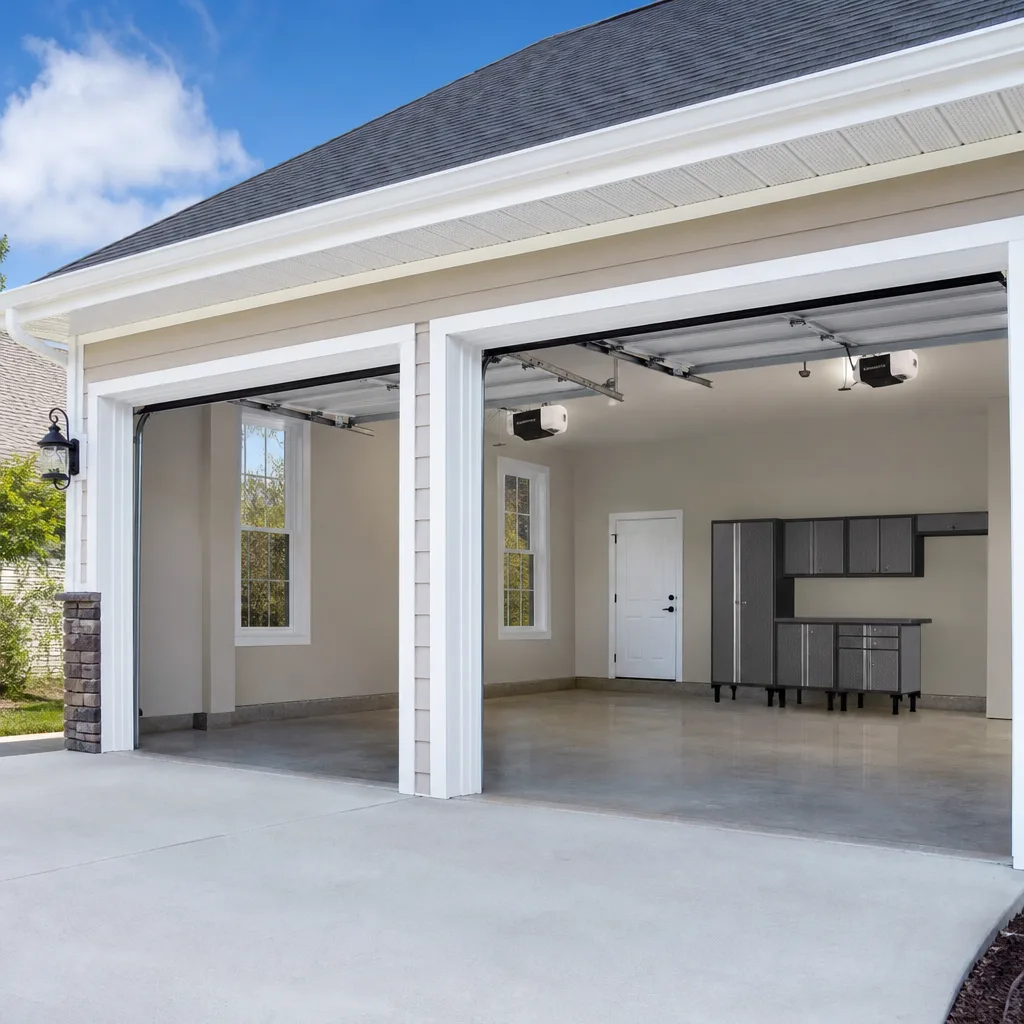 Chamberlain openers
Full 25-point door and opener safety check with every visit - springs, cables, rollers, tracks, and your LiftMaster or Chamberlain opener included
You get a price before we start. It does not change when the truck arrives.
Get your free estimateGarage Door Repair Maintenance Schedule: What to Do and When
Most homeowners treat garage door maintenance as an afterthought until something breaks. But here’s the thing that surprises people in Lakewood: your torsion spring isn’t failing randomly. It’s failing on a schedule, measured in cycles, not calendar months. A standard spring is rated for roughly 10,000 open-and-close cycles. Open your door four times a day and you’ll cross that threshold in about six and a half years. Most people have no idea where in that countdown their door currently sits. This guide maps maintenance to the actual failure sequence of the components on your door, so you can stop replacing parts after they break and start servicing them before they do. We’ll cover what to do monthly, annually, and on the extended cycle that governs springs, rollers, and opener electronics.
Quick Answer
A practical garage door maintenance schedule splits into three tiers: monthly homeowner checks (visual inspection, balance test, photo-eye alignment), annual service on springs and cables (tension check, lubrication, bracket inspection), and a multi-year cycle for rollers, hinges, and opener motors based on how often you actually use the door. In Lakewood’s mild climate, the biggest long-term threats are humidity-driven corrosion on hardware and thermal stress on opener motors in summer heat.
Styles & brands we work with
- Raised-panel steel
- Carriage house
- Modern flush
- Full-view glass
- LiftMaster openers
- Chamberlain openers
Table of Contents
- Why Cycle Count Matters More Than Calendar Time
- Monthly Tasks: 15 Minutes That Prevent Most Failures
- Annual Service: Springs, Cables, and Brackets
- The Correct Lubrication Map by Component
- How to Run a Balance Test and What the Numbers Mean
- Opener Maintenance: Usage-Based, Not Season-Based
- Lakewood-Specific Maintenance Notes
- Common Mistakes to Avoid
- When to Call a Professional
- Frequently Asked Questions
Why Cycle Count Matters More Than Calendar Time
Every moving part on your garage door has a lifecycle measured in cycles. A cycle is one full open and one full close. The spring that counterbalances your door is designed to last a specific number of cycles before the metal fatigues and snaps. Standard torsion springs are typically rated between 10,000 and 20,000 cycles depending on the wire gauge and coil length. High-cycle springs, the kind we install on doors that get heavy daily use, push into the 30,000-plus range.
Here’s the practical math. Open your door twice a day, once when you leave and once when you return. That’s about 700 cycles a year. At that pace, a 10,000-cycle spring lasts roughly 14 years. Now add two more cycles a day because you park both cars inside, or the kids ride bikes in and out, or you use the garage as a workshop entry. Four cycles a day is 1,460 cycles a year. That same spring fails in under seven years.
You can estimate your own usage:
- Count how many times the door goes up and down on a typical weekday. Include every entry and exit.
- Do the same for a typical weekend day, which is often higher.
- Multiply your daily average by 365 to get your annual cycle count.
- Divide the spring’s rated cycle life by that annual number. That’s your expected service life in years.
If you don’t know your spring’s rating, a technician can identify it by the wire diameter, coil length, and inside diameter stamped on the cone. We see doors in Lakewood neighborhoods that have far more cycles than the owners realize, especially households where the garage is the primary entrance. That’s why we recommend an inspection that logs your cycle count and gives you a realistic replacement window rather than a generic “check it every year” note.
Monthly Tasks: 15 Minutes That Prevent Most Failures
You don’t need to be mechanically inclined to spot early warning signs. A monthly walk-around takes about fifteen minutes and catches the majority of issues before they become repair calls. Most homeowners in Lakewood do this on a weekend morning when the light is good.
Here’s the checklist we give our customers:
- Close the door and look at it from outside. Does it sit square in the opening, or is one side lower than the other? A slight tilt means one spring is carrying more load than the other.
- Run the door and listen. Grinding, squealing, or a rhythmic thumping as the door moves points to worn rollers, dry hinges, or a track component losing alignment.
- Check the weather strip along the bottom. In Lakewood’s dry summers, rubber weatherstrip can compress and crack. Run your hand along it with the door closed. You’re feeling for flat spots, tears, or gaps where light shows through.
- Test the photo-eye sensors. With the door open, wave your foot across the beam near the floor and press the close button. The door should stop and reverse. If it doesn’t, clean the sensor lenses with a dry cloth and retest.
- Look at the cables. The lift cables run along both sides of the door. They should be taut and free of rust. Frayed strands near the bottom bracket are the earliest sign of a cable that’s about to give.
- Check the balance manually. Pull the release handle with the door closed and swing the door up by hand. It should move smoothly and stay in place if you let go around shoulder height. A door that drops or shoots up needs a spring adjustment.
This monthly routine works for any brand. Whether you have an Amarr or a Clopay door, a Genie or a Wayne Dalton opener, the mechanical components follow the same physics. The goal is catching symptoms, not diagnosing. If a check turns up something off, that’s the time to call for garage door repair before the failure becomes structural.
Annual Service: Springs, Cables, and Brackets
Once a year, the high-tension components need a closer look than a visual scan provides. This is the service tier that extends the life of the parts that fail most dramatically: torsion springs, extension springs, lift cables, and the bottom brackets that anchor them.
We do not recommend homeowners service torsion springs themselves. The spring on a double-wide door holds enough torque to break bones or worse if it releases unexpectedly. A trained technician uses winding bars and follows a specific procedure. The annual service should include:
- Spring tension measurement. The technician checks whether each spring is deflecting consistently and whether the door weight is evenly distributed.
- Coil gap inspection. As a spring nears the end of its cycle life, you’ll often see a visible gap form between two coils. That gap is the clearest warning sign that the spring is fatiguing.
- Cable condition assessment. Cables wrap around a drum at the top of the door. The technician looks for wear at the drum, at the bottom bracket, and along the run. One broken strand means the cable has lost a meaningful percentage of its strength.
- Bracket torque check. The bolts that hold the bottom brackets to the door sections loosen over time as the door cycles. The technician confirms they’re tight and that the bracket itself hasn’t bent or cracked.
- Track alignment verification. Both vertical tracks and the horizontal run should be parallel and properly spaced. A track that’s drifted can force the rollers to bind, which accelerates wear on every other component.
Our annual service call includes this inspection plus a full lubrication pass. We tell customers in Lakewood to book this in the fall, before the shorter days mean the door gets more cycles in a compressed morning and evening window.
The Correct Lubrication Map by Component
The single biggest lubrication mistake we see is the idea that one spray solves everything. It doesn’t. Different components need different products. Using the wrong lubricant on one part can actually attract grit and make it fail faster.
Here’s the component-by-component map:
- Torsion spring coils. Use a lithium-based spray grease. Apply it along the top of the spring while the door is closed, so the lubricant seeps into the gaps between coils as the spring unwinds and rewinds. Do this annually. The goal is to reduce friction between coils, not to soak the spring.
- Roller bearings. Nylon rollers with sealed bearings need no lubrication. Steel rollers with exposed bearings need a drop of light machine oil on each bearing once a year. If the roller is noisy, the bearing is already worn, and oil won’t fix it, only replacement will.
- Hinge pivot points. The numbered hinges along the door sections pivot every time the door opens. A small amount of white lithium grease on each pivot pin, applied twice a year, keeps the door quiet and reduces stress on the sections.
- Lock mechanisms. If you have a manual slide lock or a keyed handle lock, a dry graphite spray works better than grease. Graphite doesn’t gum up in Lakewood’s summer heat the way petroleum lubricants do.
- Opener rail. For chain-drive openers, a light coat of white lithium grease on the chain once a year. For belt-drive openers on LiftMaster or Chamberlain units, no lubrication, the belt runs dry by design. Screw-drive Genie units need the specific grease recommended for that model, applied sparingly.
One lubrication error we see repeatedly is spraying the tracks. The tracks should never be lubricated. The rollers ride on the track surface, and any grease there picks up dust and becomes a sticky paste that makes the door drag. Keep tracks clean and dry.
How to Run a Balance Test and What the Numbers Mean
The balance test is the single most revealing diagnostic you can run on your own door, and it takes less than a minute. It tells you whether your springs are holding proper tension or slowly losing it, which is the precursor to a spring snap.
Here’s the proper procedure:
- Close the door completely.
- Pull the emergency release handle. This disconnects the opener from the door so you’re testing the door’s natural weight against the springs.
- Lift the door by hand to about three feet off the ground, roughly waist height.
- Let go.
A properly balanced door stays put. It might drift an inch up or down, but it holds its position. A door that drops quickly is carrying too much weight for the springs, which means the springs are weakening. A door that shoots upward has too much tension, which is less common but equally hard on the opener.
The specific number we use as a threshold: if the door drifts more than two inches from the release point within 60 seconds, the spring tension has measurably declined. That’s not a sign to buy a new spring immediately. It’s a sign to get a tension adjustment. Left uncorrected, the imbalance puts extra load on the opener motor, which is a much more expensive component to replace than a spring.
After the test, reconnect the door to the opener by pulling the release handle toward the door and running the opener until it re-engages. If you’re unsure about any part of this, don’t guess. A technician can run the same test in a minute during any service call.
Opener Maintenance: Usage-Based, Not Season-Based
Your garage door opener is a motorized appliance, and like any motor, it wears based on how many times it runs, not on how many months it’s been bolted to the ceiling. That’s why we build opener maintenance schedules around usage rather than seasons.
Most residential openers are built for roughly 10,000 to 15,000 operating cycles, which for a heavily used Lakewood household translates to seven to ten years. But there are things you can check that give you early warning, and they’re different from door-side checks.
- Listen to the motor pitch. A motor that strains, whines, or pauses mid-travel is working harder than it should. That’s often a door balance issue, not an opener issue, which is exactly why a full-system diagnostic beats an opener-only check.
- Watch the travel limits. If the door used to stop perfectly at the floor and now bounces or reverses, the travel limit settings have drifted or the door has settled. Reprogramming the limits is a five-minute job on most LiftMaster, Chamberlain, and Genie units.
- Check the force settings. Modern openers have adjustable force. If the setting is too high, the door will close on an obstruction and keep pushing. That’s a safety issue. Test it with the classic 2×4 test: lay a piece of wood flat under the door and close. The door should reverse within two seconds of contact.
- Inspect the rail and belt or chain. A loose chain will slap against the rail. A frayed belt will start to split along the edges. Both are visual checks you can do with a step ladder.
Opener electronics, especially the logic boards on smart-enabled LiftMaster and Chamberlain models, fail more often from heat than from wear. Lakewood’s summer temperatures can push a garage well past 100 degrees. An opener with poor ventilation in an uninsulated garage will run its control board hot. We recommend checking that the opener’s vents aren’t blocked by storage boxes and that the unit has a few inches of clearance on all sides.
When opener parts fail, the question is whether to repair or replace. A worn gear, a bad capacitor, or a failed remote receiver are all reasonable repairs on a unit under ten years old. A motor with degraded windings or a board that’s fried on a fifteen-year-old opener generally points toward replacement. That’s the honest answer we give because our technicians work on both repair and installation, so we have no incentive to push you toward a new unit unless it’s genuinely the right call. For opener-specific issues, our garage door opener repair coverage includes diagnostic and component replacement across all the major brands.
Lakewood-Specific Maintenance Notes
Lakewood’s climate shapes how garage door components age in specific ways that generic maintenance guides don’t account for. Our technicians see these patterns year after year on doors throughout the city.
Spring humidity checks. Lakewood doesn’t get the heavy humidity of a coastal city, but spring months do bring moisture that settles on bare metal parts overnight. Uncoated hardware, especially the bottom brackets and the cable ends, will develop surface corrosion faster if the garage isn’t conditioned. We check for paint loss on the bottom brackets during spring service and apply a protective coating when needed. The bottom seal is also worth checking in spring: a compressed seal lets moisture and debris in, and that material settles at the base of the tracks where it accelerates rust.
Summer heat and opener thermal cutoffs. Garages in Lakewood heat up fast in summer, especially west-facing doors that get direct afternoon sun. Modern openers have thermal overload protection that shuts the motor down if it runs too hot. If your opener quits mid-cycle during a heat wave and works fine after cooling off, that’s the thermal cutoff doing its job. The long-term fix isn’t a new opener. It’s improving air movement in the garage or scheduling heavy door use for cooler hours. We also see opener force settings need a slight adjustment in summer because the door’s metal sections expand slightly and fit more tightly in the tracks.
Dust accumulation on hardware. Lakewood’s dry months bring fine dust that settles on hinges, rollers, and opener electronics. That dust mixes with any lubricant residue and turns into a grinding paste on pivot points. The solution is more frequent hinge inspection during the dry season, and wiping down visible hardware before applying fresh grease. A dry clean surface accepts lubricant far better than a dusty one.
For homeowners anywhere in Lakewood, the takeaway is this: your maintenance calendar should adjust for what the local environment actually does to your door, not for what a national guide assumes. A door in Lakewood doesn’t need freeze-thaw preparation, and it doesn’t need salt-corrosion treatment. It needs humidity awareness in spring, heat management in summer, and dust control all year.
Common Mistakes to Avoid
- Lubricating the tracks. Tracks are meant to stay dry. Grease on the tracks collects dust and turns into a sticky film that makes the door bind. Wipe tracks clean with a dry cloth instead.
- Ignoring a noisy door. A squeal or grind that’s been present for months is not a quirk. It’s a roller bearing or hinge pivot telling you it’s worn. Fix it while it’s a $20 part instead of a bent track and a section replacement later.
- Skipping the balance test after adjusting anything. If a technician adjusts the springs or replaces them, test the balance again within a week. Settling happens, and a follow-up adjustment is far cheaper than a spring that’s mis-tensioned from the start.
- Using WD-40 on the springs. WD-40 is a water displacer, not a lasting lubricant. It evaporates and leaves the metal drier than before, which accelerates coil friction and shortens spring life. Use a lithium spray grease instead.
- Assuming the opener is the problem when the door won’t close. Most “opener failures” are door issues: misaligned sensors, a block in the track, or a balance problem that trips the force sensor. Diagnose the door first before replacing the opener.
- Ignoring cycle count. Waiting for the spring to snap and then calling for a repair is the most expensive way to own a garage door. A snapped spring can jerk the cables and damage the tracks or the sections themselves. If you know you’re at or near your cycle limit, replace the spring proactively.
When to Call a Professional
Some maintenance tasks are genuinely homeowner work. Others are dangerous. Never attempt to adjust, replace, or remove a torsion spring yourself. The stored torque in a wound spring is enough to cause severe injury, and the winding bars require specific technique to use safely. The same warning applies to lift cables: they’re under constant tension, and a cable that snaps can whip through the air. If you see frayed strands, call a professional rather than touching the cable. A door off its tracks is also a professional job because forcing it back risks bending the track or the sections. Garage Door Service Lakewood offers free estimates throughout Lakewood, and our technicians carry parts for the brands most common in the area. Call (866) 596-9807 to book a diagnostic. We answer 24/7. Fast dispatch from 7am to 7pm, Sunday through Friday.
Frequently Asked Questions
Once a year is the right interval for most Lakewood homes. The annual service should include a spring tension check, cable inspection, bracket torque verification, track alignment, and full lubrication. If your door cycles more than four times a day, we recommend twice-yearly service because you’re burning through component life faster than the average household. Call (866) 596-9807 to book an annual service or to ask whether your usage pattern warrants a shorter interval.
A torsion spring lasts as long as its cycle rating allows, which for standard springs is typically 10,000 to 20,000 cycles depending on the wire and coil configuration. A homeowner who opens the door four times a day will get roughly seven years from a standard spring, while a light user might see fifteen years. High-cycle springs extend that to 30,000 cycles or more. To understand where your spring sits in its lifecycle, estimate your daily cycles and ask a technician to identify the spring’s rating during a service call.
Lubricate torsion spring coils with lithium spray grease, hinge pivot points with white lithium grease, and lock mechanisms with dry graphite. Light machine oil goes on exposed steel roller bearings. Leave the tracks, the photo-eye lenses, and the belt on a belt-drive opener completely dry. About half the garage doors we see in Lakewood are overlubricated in the wrong places and underlubricated where it matters. A technician can show you the exact application points on your specific door brand.
In Lakewood’s summer heat, garage interiors can exceed 100 degrees, and opener motors have thermal overload protection that shuts the unit down to prevent damage. If the opener quits mid-cycle on a hot afternoon and runs normally after cooling off, that’s the thermal cutoff. Improve ventilation in the garage rather than replacing the opener. If the problem happens at all temperatures, the motor or the logic board may be failing, and that’s a diagnostic call for opener repair.
Monthly visual checks, the balance test, sensor cleaning, and weatherstrip inspection are all homeowner-appropriate tasks. Spring service, cable inspection and replacement, and any work involving stored tension should always go to a professional. The dividing line is risk: if a component failure could injure you, hire the work out. Everything else is fair game to handle yourself. Call (866) 596-9807 if you’re not sure which side a particular task falls on.
It depends on the door’s structural condition and the cost of the specific repair. A door with good sections, straight tracks, and intact hardware is worth servicing even if it’s fifteen or twenty years old. A door with cracked panels, rusted-through bottom brackets, or a track system that’s been welded or patched multiple times is often a replacement candidate. We give the same honest assessment whether we’re performing the repair or quoting the install, because our team does both. A technician can tell you in one visit whether your specific door is worth putting money into.
The Bottom Line
A maintenance schedule built around cycles and components is the only one that actually extends the life of your garage door. Monthly checks catch early symptoms. Annual service keeps springs and cables honest. And a usage-based approach to rollers, hinges, and opener electronics prevents the failures that leave you stuck with a door that won’t open at seven in the morning. In Lakewood, where heat and dust do their own work on hardware, the calendar is less important than the cycle count. If you’d rather not track any of it yourself, a single annual visit from a technician covers everything this guide outlines. You can reach us any time for that booking.
Written by the team at Garage Door Service Lakewood, serving Lakewood since 2013.
See the difference
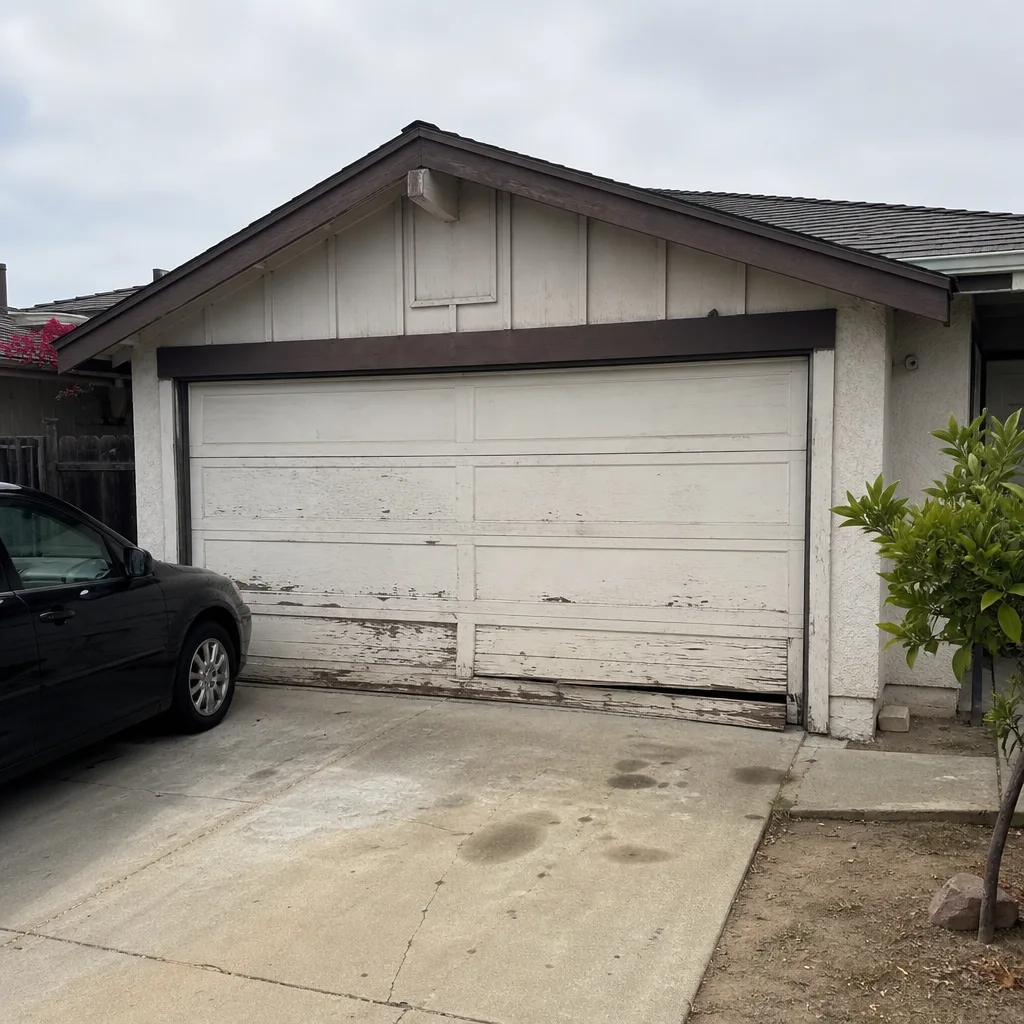 Before
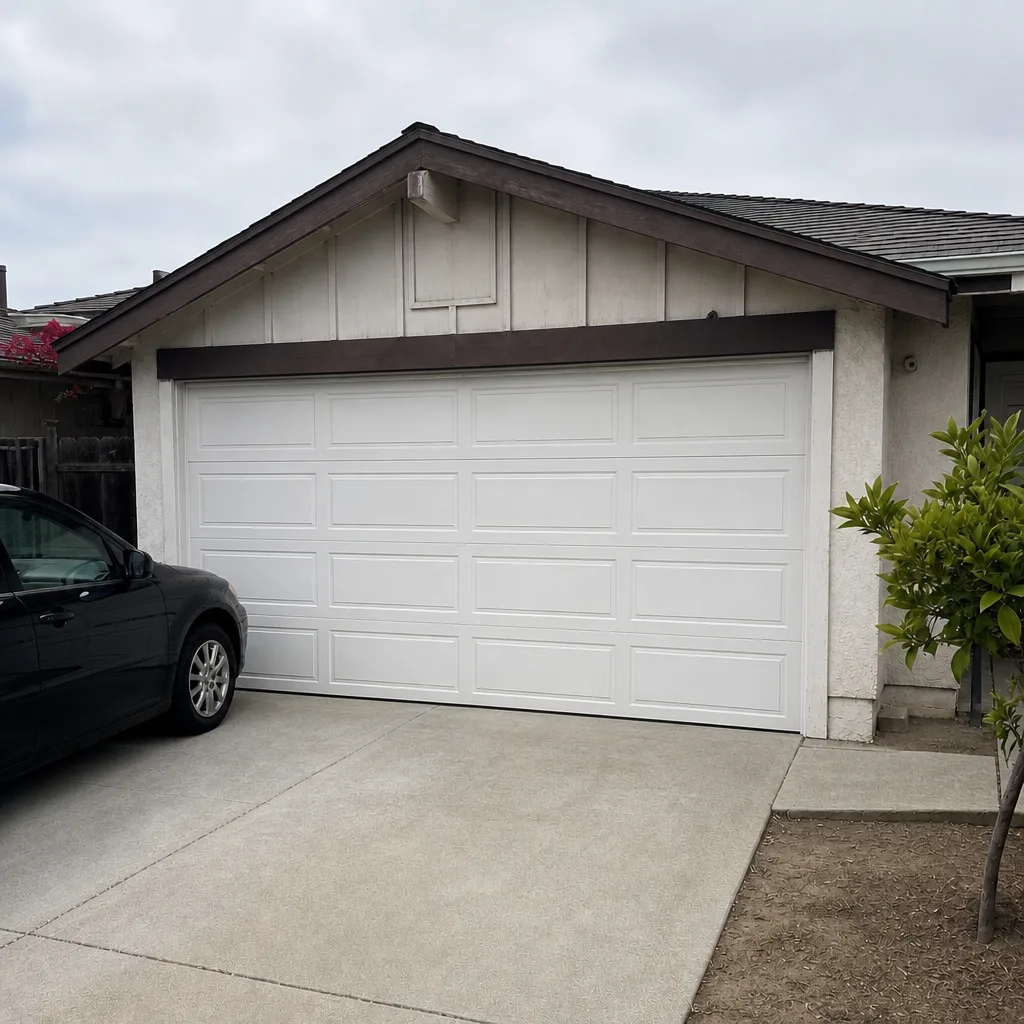 After
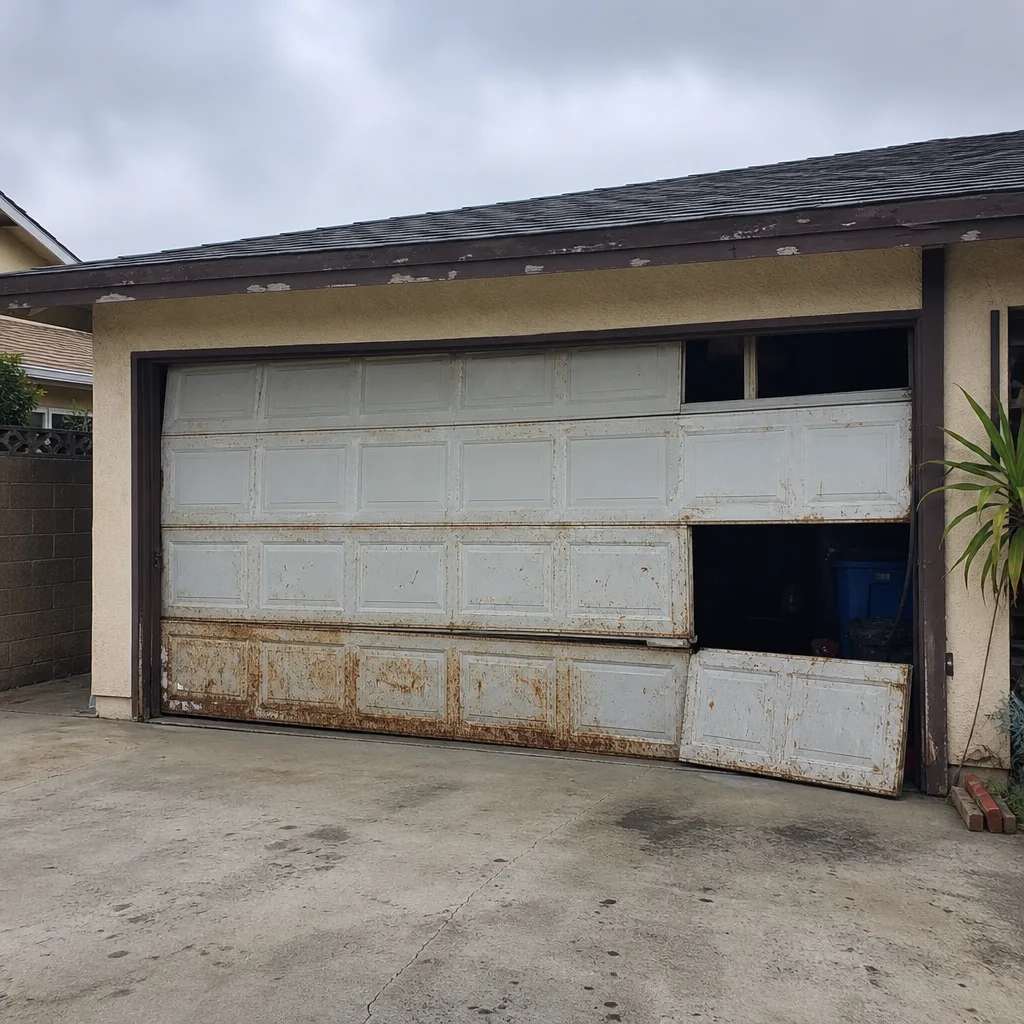 Before
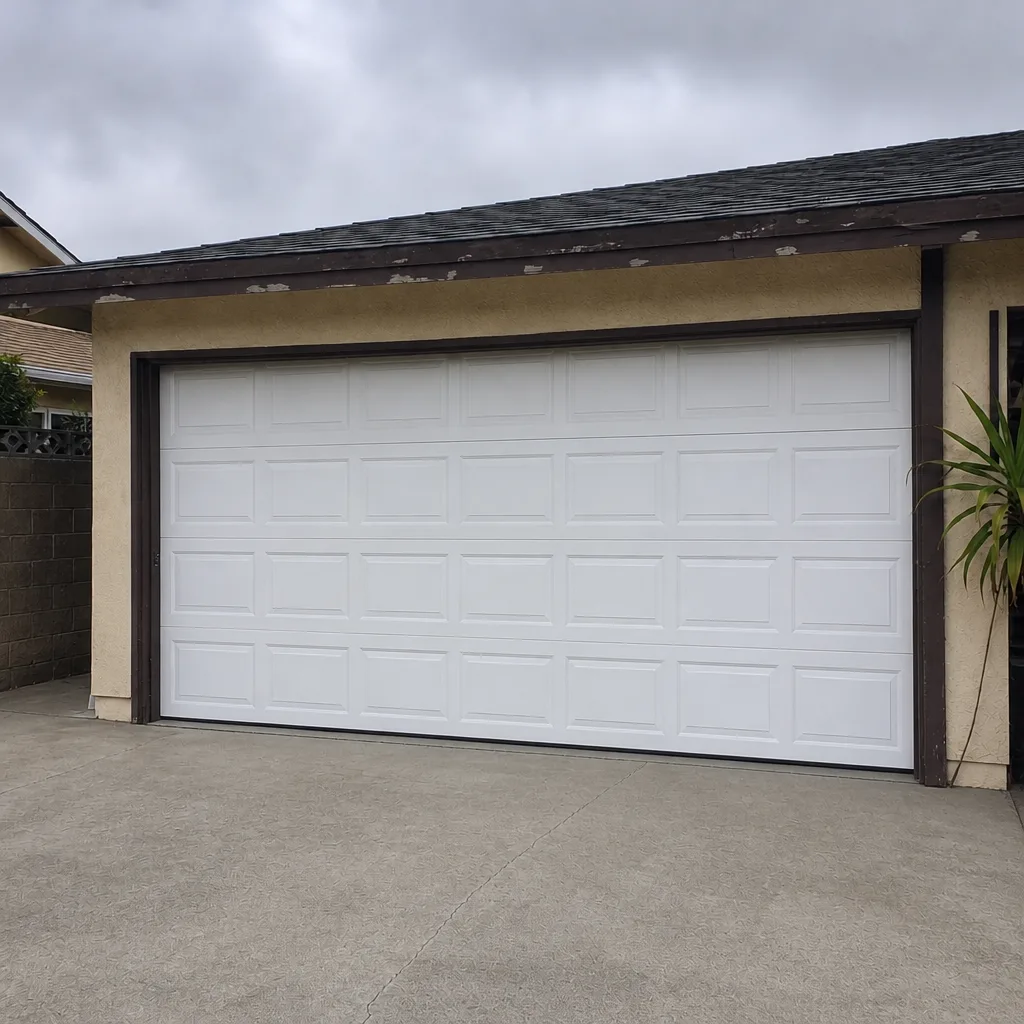 After
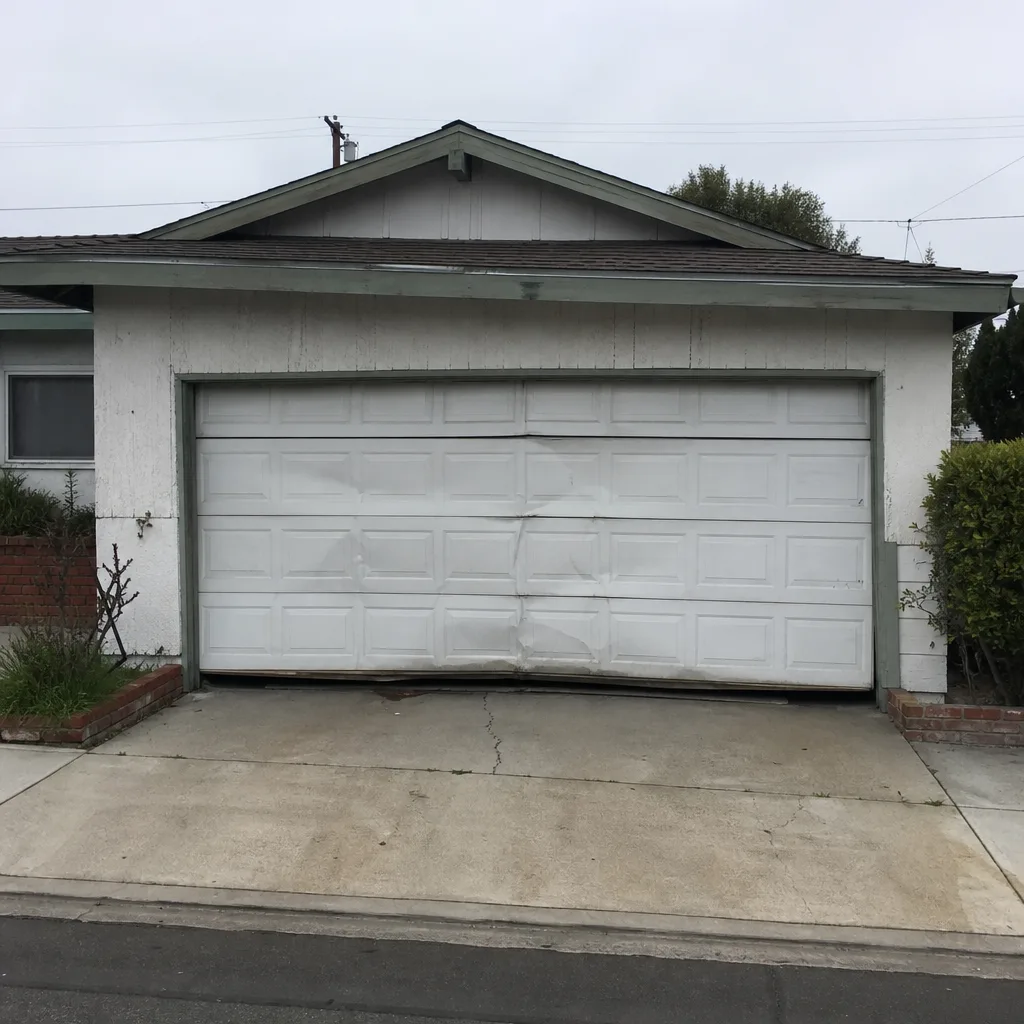 Before
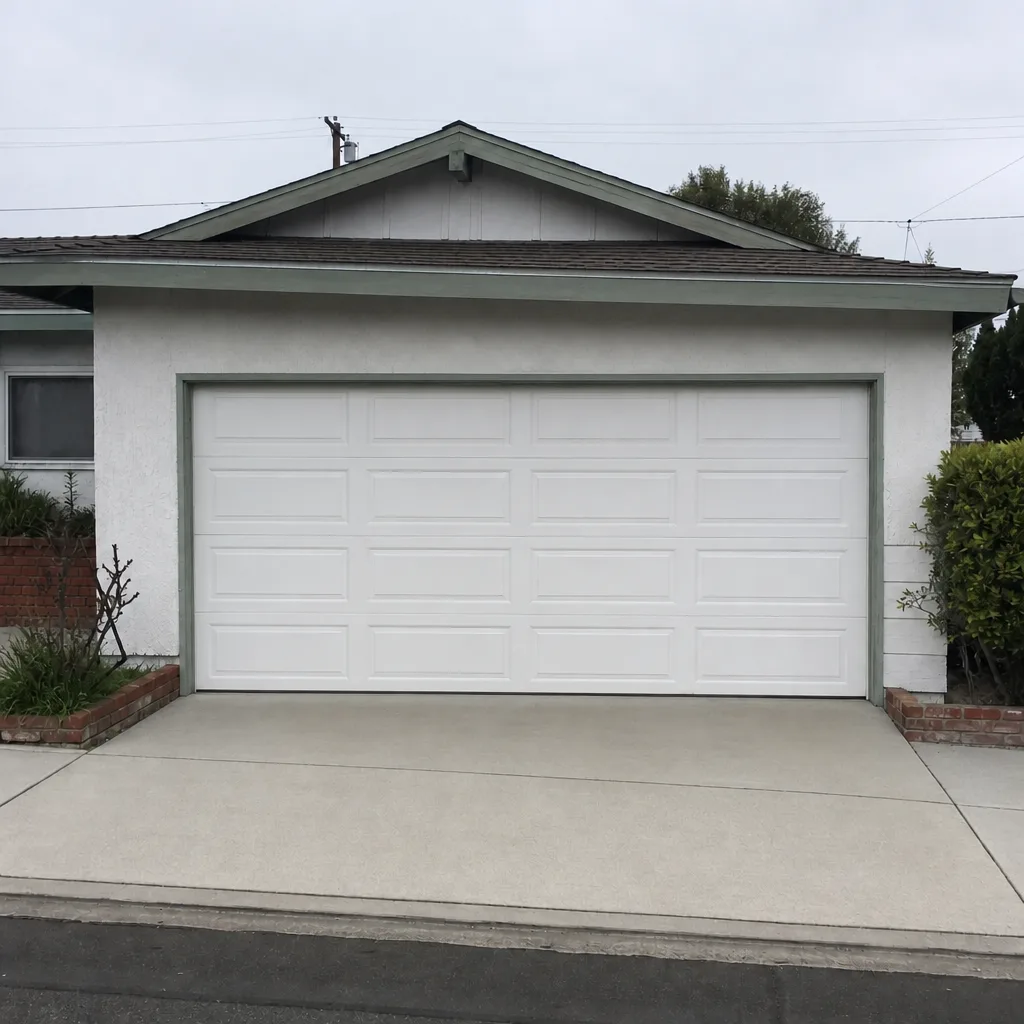 After