
Last updated November 4, 2026
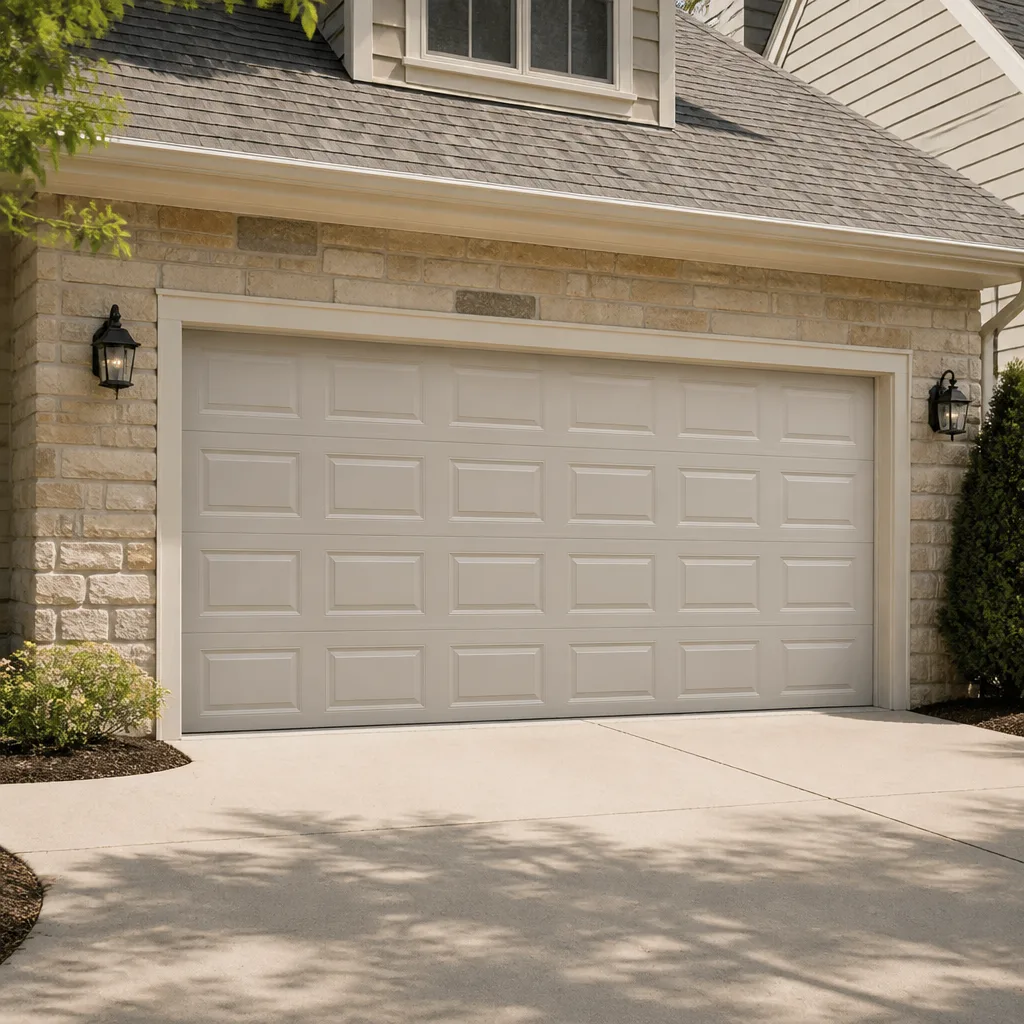 Raised-panel steel
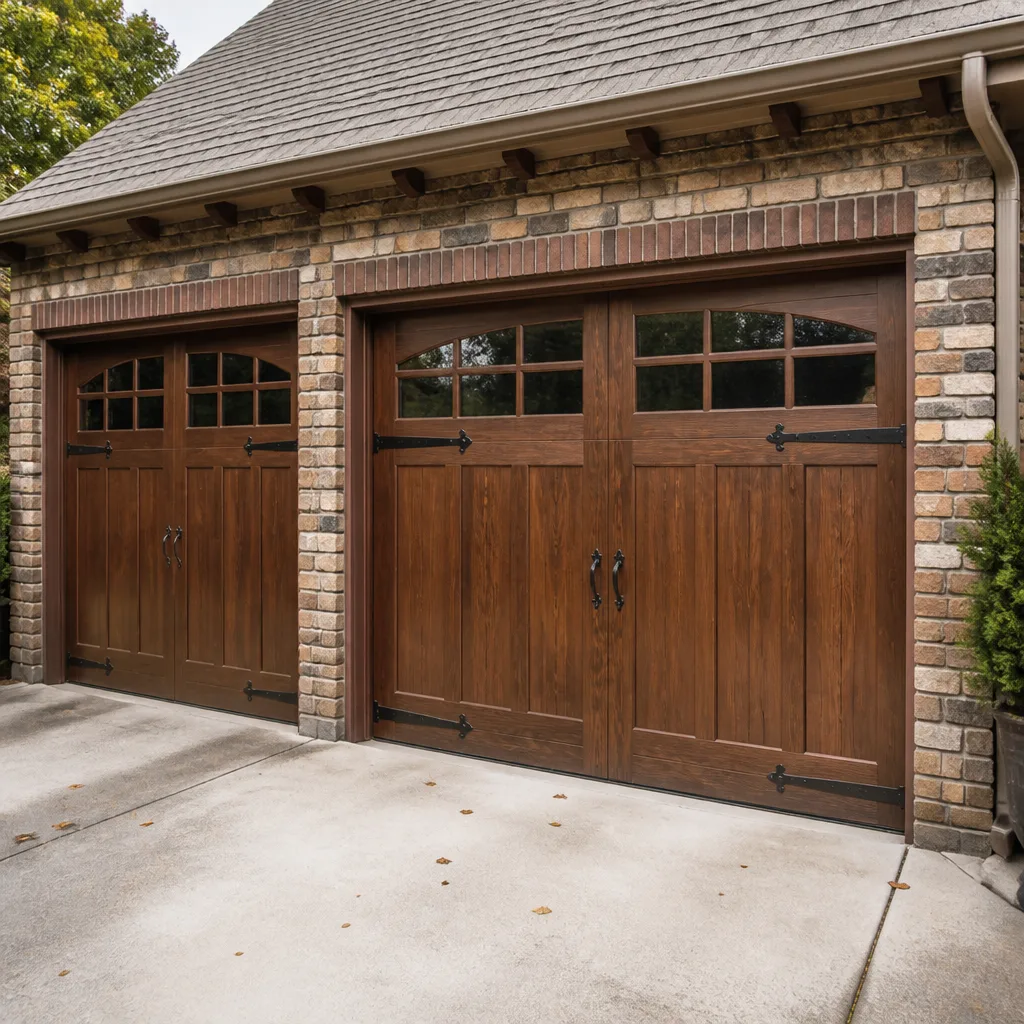 Carriage house
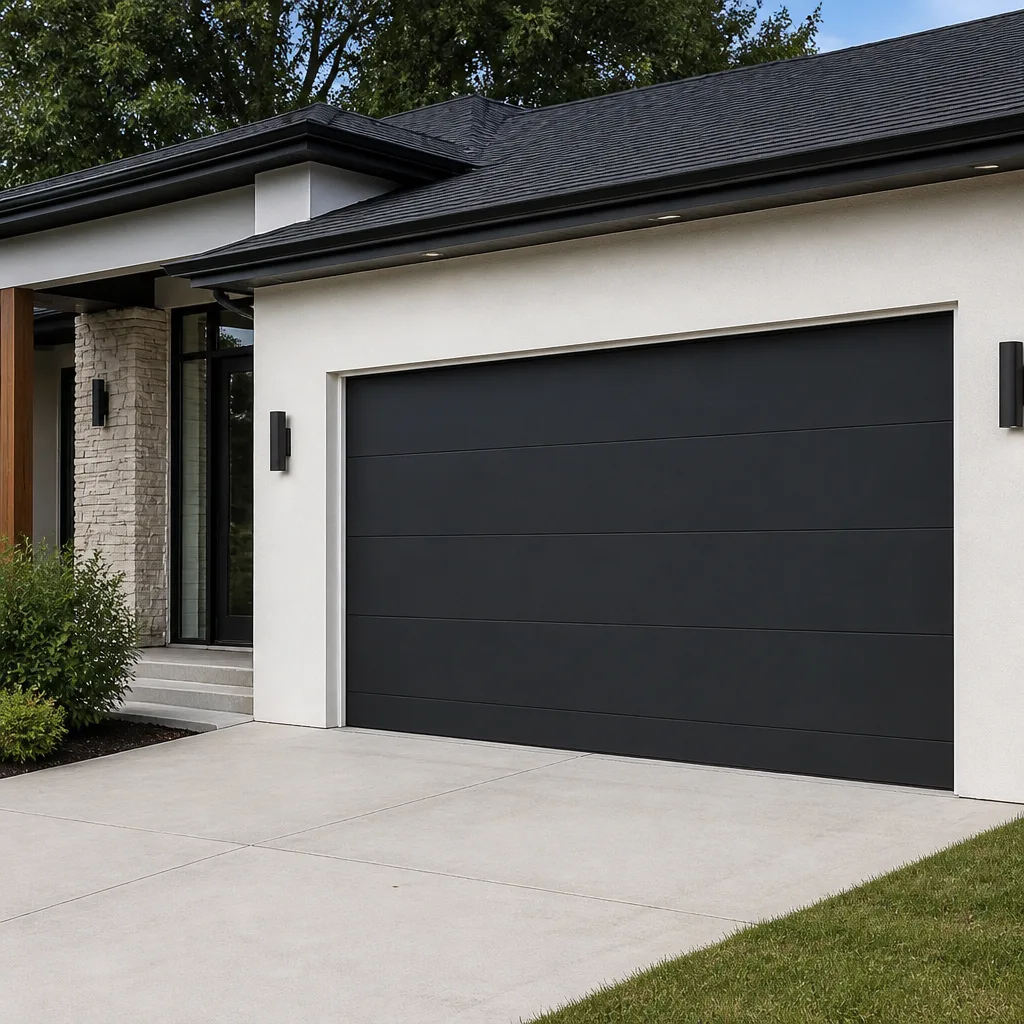 Modern flush
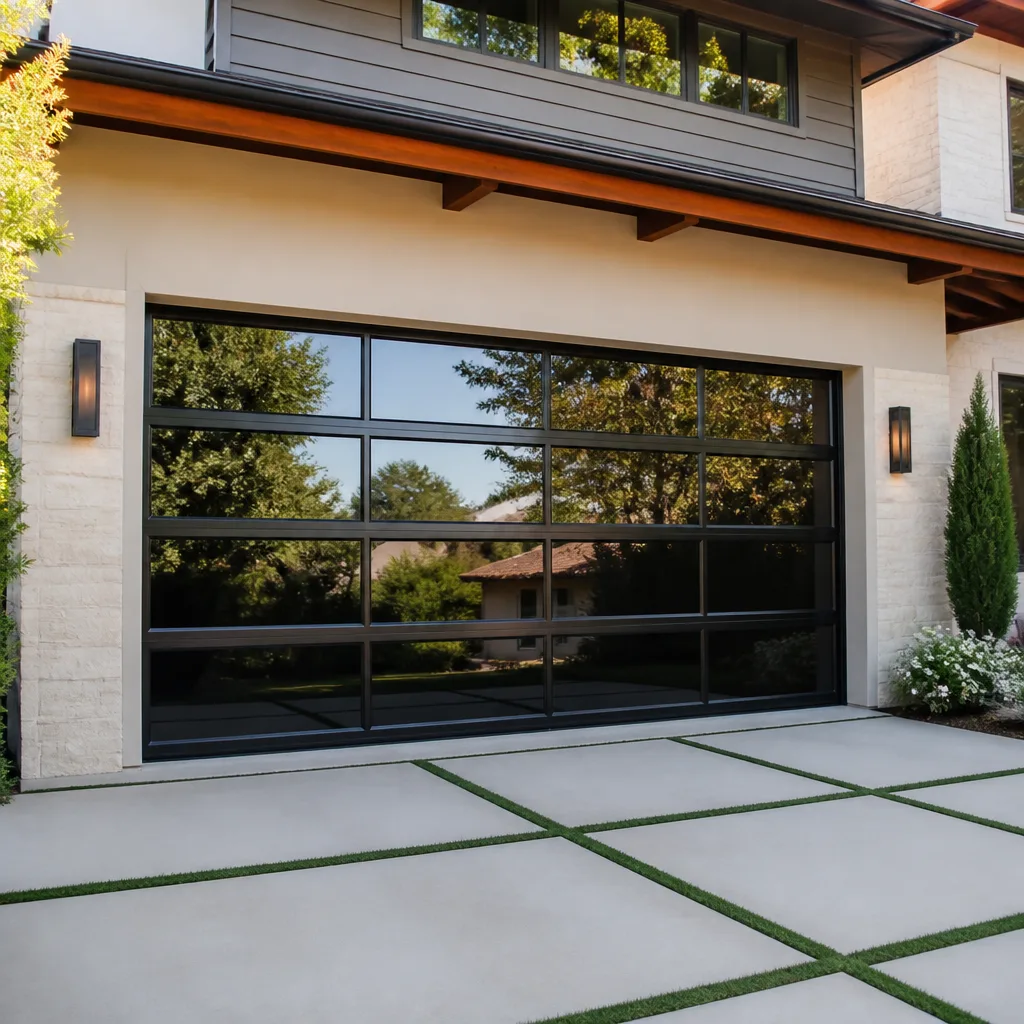 Full-view glass
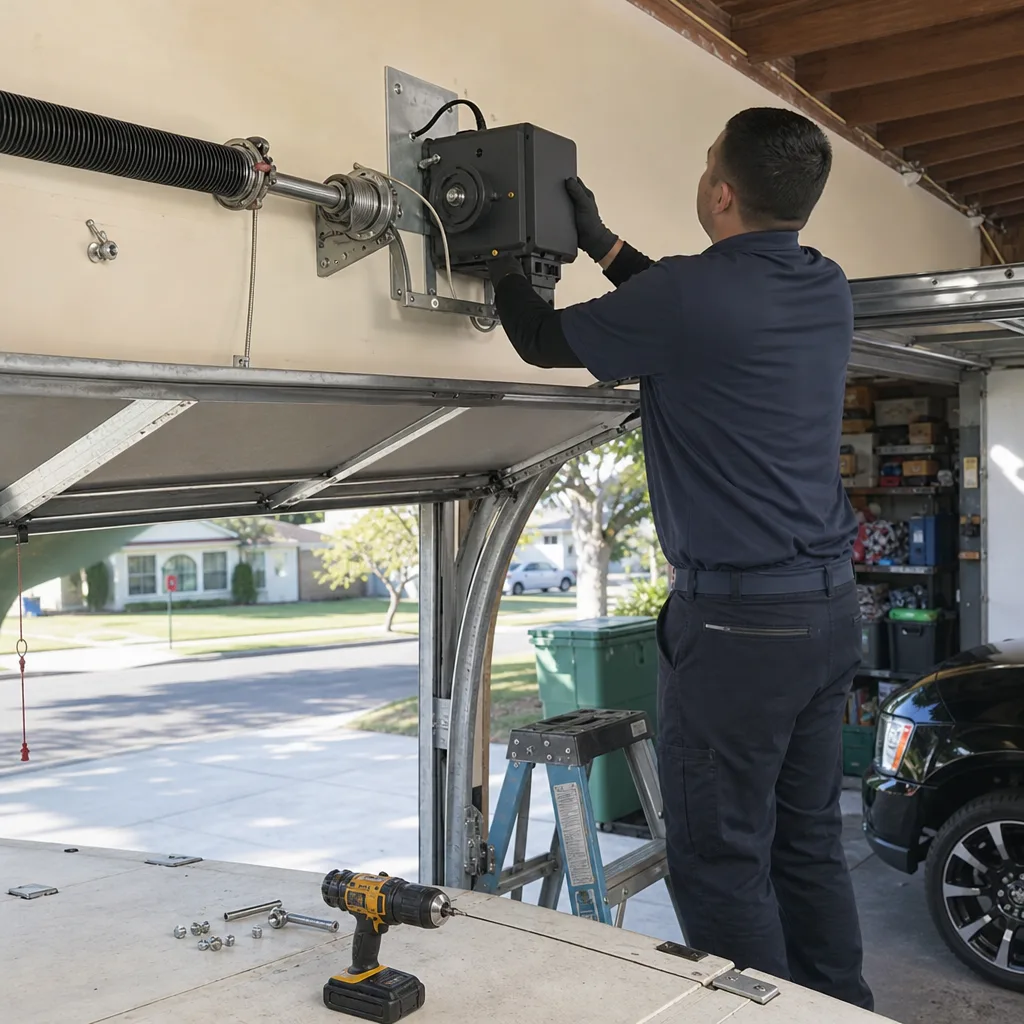
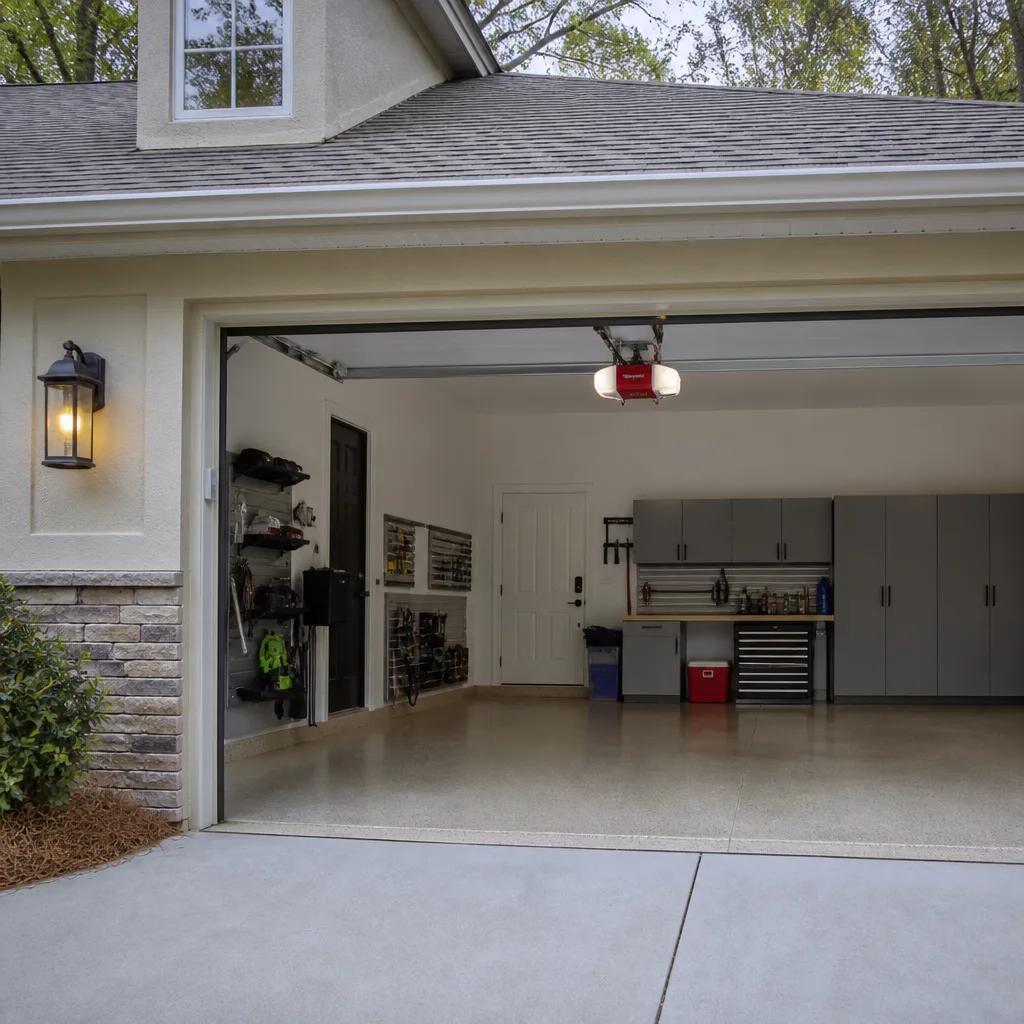 LiftMaster openers
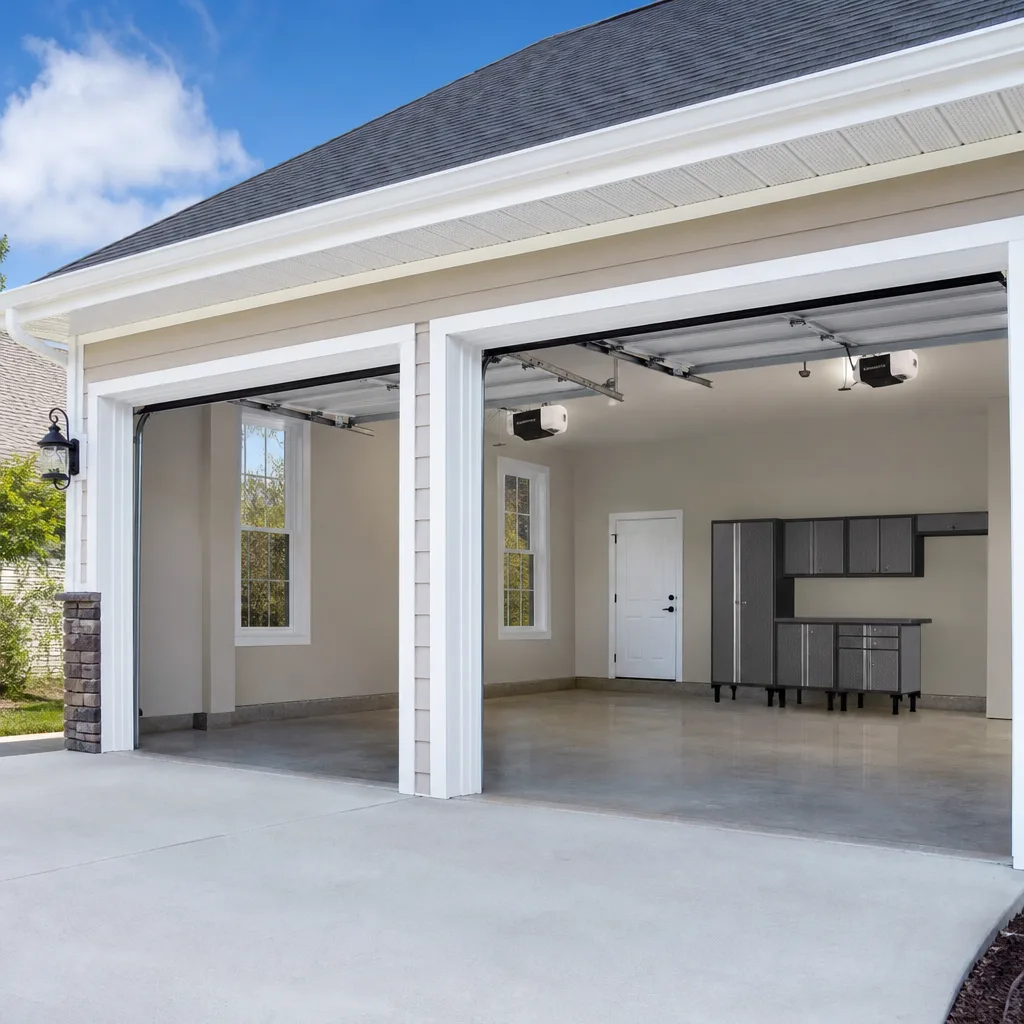 Chamberlain openers
Full 25-point door and opener safety check with every visit - springs, cables, rollers, tracks, and your LiftMaster or Chamberlain opener included
You get a price before we start. It does not change when the truck arrives.
Get your free estimateGarage Door Repair Maintenance Checklist for Lakewood Homeowners
Here’s a maintenance truth most homeowners don’t hear: the garage door is the largest moving object in your house, and it’s held up by springs that carry hundreds of pounds of tension every single day. In Lakewood, where most homes were built between the 1940s and 1960s, the original garage door hardware on many properties has now been through five or six decades of daily cycling. That’s roughly 10,000 to 15,000 open-and-close operations per spring set if they’ve lasted this long. Most haven’t. The typical torsion spring is rated for 10,000 cycles, and when it breaks, the door becomes a dead weight. This guide walks you through what a technician actually checks during a maintenance visit in Lakewood, why each test matters, and what each one catches before it becomes a repair bill. You’ll learn the specific steps, the correct products to use, and the pass/fail criteria that separate a door that’s fine from one that’s about to fail.
Styles & brands we work with
- Raised-panel steel
- Carriage house
- Modern flush
- Full-view glass
- LiftMaster openers
- Chamberlain openers
Quick Answer
A garage door maintenance checklist for Lakewood homeowners should cover seven specific tests: the spring balance test, roller and hinge inspection, torsion spring coil inspection, weatherstripping and bottom seal check, track alignment, opener force-limit testing, and the auto-reverse safety check. Run these every six months, and you’ll catch most failures before they strand a car in the driveway or burn out an opener motor. Most Lakewood homes we service benefit from a full inspection twice a year, with the balance test done quarterly because it catches spring fatigue early.
Table of Contents
- The Door Balance Test: Why Skipping It Costs You an Opener Motor
- Correct Lubrication by Component: Lithium Grease vs. Spray Lubricant
- Roller Inspection: Nylon vs. Steel and the Replacement Threshold
- Weatherstripping and Bottom Seal Care for Lakewood Homes
- Opener Force-Limit and Auto-Reverse Testing
- Track Alignment and Hardware Torque Checks
- Lakewood Seasonal Maintenance Schedule
- Common Mistakes to Avoid
- When to Call a Professional
- Frequently Asked Questions
- The Bottom Line
The Door Balance Test: Why Skipping It Costs You an Opener Motor
Skipping the spring balance test is the single maintenance omission most responsible for burned-out opener motors in Lakewood homes, yet it appears on almost no consumer maintenance lists. Here’s why that matters. Your garage door opener is designed to lift a door that’s nearly weightless when the springs are doing their job. When torsion springs fatigue and lose tension, the door gets heavier. The opener doesn’t know this. It just works harder, runs hotter, and eventually strips its internal gear or burns out the motor. A replacement opener installed by a professional typically runs several hundred dollars depending on the model. The balance test takes 30 seconds and tells you if you’re heading toward that expense.
The test itself is simple, but it requires care if the door has an opener attached. Start by pulling the red emergency release handle while the door is closed. This disconnects the door from the opener carriage. Then lift the door manually to about waist height, somewhere around three feet off the ground. Release it gently. A properly balanced door will stay roughly where you put it, maybe drifting an inch either way. If it drops toward the floor, the springs are under-tensioned and the door is heavy. If it shoots upward, someone has over-tensioned the springs, and that’s its own safety issue. Either result means the springs need adjustment or replacement, and that’s not a DIY job. Garage door repair on torsion springs requires winding bars, experience, and respect for the stored energy in those coils.
Run this test quarterly in Lakewood. The mild climate means no freeze-thaw stress on components, but the dry air and consistent use pattern of a suburban home with two drivers means the door cycles more than you’d think. Every cycle adds fatigue. Catching a weak spring at the drift-down stage saves you from a snapped spring later, which usually happens at the worst possible moment, like when your car is inside the garage and the door won’t open. We recommend doing this test once every three months, more often if you notice the door slowing down in the last foot of its upward travel.
Key Takeaways: Balance Test
- Disconnect the opener with the emergency release cord.
- Lift the door to waist height and release.
- Door holds position: springs are fine.
- Door drops: springs are tired, call for service before the opener burns out.
- Door rises: springs are over-tensioned, which is unsafe.
Correct Lubrication by Component: Lithium Grease vs. Spray Lubricant
The lubrication advice most people receive is dangerously vague. “Lubricate your garage door” sounds helpful until you’re standing in the aisle of a hardware store looking at three different products. Here’s what actually works, based on what we use on service calls throughout Lakewood and the surrounding area.
The rule is simple: white lithium grease goes on metal-to-metal pivot points. Spray silicone or a garage door-specific spray lubricant goes on the torsion spring coils and the opener rail. The two products are not interchangeable, and using the wrong one creates problems. Grease on torsion spring coils attracts dust and grit, which turns into an abrasive paste that accelerates coil wear. But spray lubricant on hinge pins and roller bearings doesn’t have the staying power and washes out quickly, leaving metal grinding on metal.
Here’s the component-by-component breakdown we use on every maintenance visit:
- Torsion spring coils: Spray silicone only. The coils slide against each other as the spring winds and unwinds, and the spray keeps them moving without picking up debris. Spray the full length of each spring above the door while the door is closed.
- Hinge pivot points: White lithium grease. There are usually ten to fourteen hinges on a standard two-car door, and each one has pivot points that need a small dab of grease. Work the door up and down once after applying to spread it.
- Roller bearings: Rollers with exposed ball bearings can take a small shot of spray silicone. Nylon rollers with sealed bearings don’t need lubrication at all, and forcing lubricant into a sealed bearing can damage the seal.
- Opener rail or screw drive: Follow the manufacturer’s instruction. Most LiftMaster and Chamberlain units with a chain or belt rail need a light coat of grease on the rail itself. Screw-drive units typically call for a specific grease on the screw threads. Genie screw drives use a thinner lubricant. If you’re not sure which you have, check the manual or the label on the motor housing.
- Lock mechanism and handle pivot: A drop of light oil or a small shot of spray lubricant once a year keeps the outside lock from seizing.
One of the eight brands we service regularly, Craftsman, produced opener models with both chain and screw drive systems, and the lubrication interval differs between them. Chain rails need attention roughly twice a year in Lakewood because the dry air and dust can collect on the rail. Screw drives are more forgiving but still benefit from a check every six months. If you own a Wayne Dalton door with the TorqueMaster spring system, note that the springs are enclosed in a tube and can’t be lubricated the same way as standard torsion springs. That system uses a different maintenance approach, and we recommend letting a technician familiar with Wayne Dalton hardware handle it rather than guessing.
Roller Inspection: Nylon vs. Steel and the Replacement Threshold
Garage door rollers are the wheels that carry the door up and down the vertical tracks. They’re easy to ignore because they’re small and mostly hidden, but worn rollers are a direct cause of track damage, noisy operation, and eventually a door that comes off its rails. The inspection takes two minutes and requires no tools.
Most doors in Lakewood homes fall into two categories: original steel rollers that came with a door installed decades ago, or nylon rollers that have been swapped in during a previous repair. Steel rollers have metal wheels and usually unsealed bearings. They’re loud, they wear the track over time, and the bearings eventually develop play, which causes the wheel to wobble. Nylon rollers have a plastic wheel with ball bearings inside, and they run quieter and are gentler on the track. Some have sealed bearings that never need lubrication, which is why new doors from Raynor and other manufacturers ship with nylon rollers as standard equipment.
Here’s the wear threshold we check for on every service call:
- Look at the wheel surface. Flat spots, chips, or visible cracking on a nylon wheel means replacement. A steel wheel with a deformed edge or visible groove from riding against the track is done.
- Check for play. With the door closed, grab the roller stem where it enters the hinge and try to wiggle it side to side. A small amount of movement is normal. If the wheel moves more than about an eighth of an inch, the bearing is worn and the roller needs replacement.
- Listen for grinding. Run the door and stand inside the garage near the track. A grinding or rattling sound that follows the wheel up the track usually means a failing bearing.
- Check the track surface. Look at the inside edge of the vertical track where the roller rides. Scoring, rough patches, or visible metal wear tells you the rollers have been running metal-on-metal. That track damage doesn’t heal, and continuing to run worn rollers makes it worse.
The replacement decision is straightforward. If one roller is worn, replace all of them. Mixing old and new rollers means the old ones will fail soon anyway, and you’ll pay for the labor twice. A full set of nylon rollers for a standard two-car door is not a big expense, and it’s a job we can complete during a routine visit. It’s also one of the repairs that garage door repair technicians in Lakewood handle most frequently on older homes where the original rollers have been in place since the Carter administration.
Weatherstripping and Bottom Seal Care for Lakewood Homes
Lakewood’s climate is dry and sunny for most of the year, with occasional periods of higher humidity during the late summer. That combination creates a specific set of conditions for garage door weatherstripping. The bottom seal, which runs along the lower edge of the door, is the first line of defense against dust, pests, and hot afternoon air bleeding into the garage. It’s also the component most Lakewood homeowners never replace until it’s visibly falling apart.
The bottom seal on a residential garage door is typically a rubber or vinyl extrusion that slides into a retainer channel on the door’s bottom section. Over time, the material hardens, loses its flexibility, and develops cracks. Once it can’t conform to the floor, gaps appear. Lakewood’s fine, dry dust finds its way into a garage through even a small gap, coating stored items with a fine layer of grit. The same gap lets in spiders, rodents, and the occasional lizard. If the garage is attached to the house, it also lets conditioned air escape, which means your HVAC system works harder.
Inspect the bottom seal every time you run the seasonal checklist. Close the door and look along the bottom edge from inside the garage. The seal should touch the floor along the entire width of the opening. If you see daylight or can slide a flat object under the seal in one spot but not another, the seal is either worn unevenly or the door itself is slightly out of level. If the seal looks like a melted candle, crumbles when you touch it, or has visible cracks, replace it. This is a simple job that most homeowners can do themselves with a utility knife and the correct replacement seal, but getting the right profile matters. Seals are not universal. A seal designed for a Clopay door may not fit an Amarr door, and forcing the wrong profile into the retainer leaves you with a seal that falls out or doesn’t seat correctly.
The side and top weatherstripping, also called the perimeter seal, deserves attention too. It’s usually nailed or screwed to the outside jamb and creates a flexible flap that the door presses against when closed. Check it by closing the door from inside and looking for gaps where a pencil can slide through. Replace perimeter stripping when it’s brittle, cracked, or no longer returns to shape after being bent. In Lakewood, the combination of heat and UV exposure on west-facing garage doors makes perimeter seals stiffen faster than you’d expect, so check twice a year even if the bottom seal still looks fine.
Opener Force-Limit and Auto-Reverse Testing
The safety systems on your garage door opener are governed by federal standards that every modern opener must meet. The two tests that matter most for homeowners are the force-limit test and the auto-reverse test. Both are designed to prevent the door from crushing a child, a pet, or an adult who happens to be in the wrong place. These tests take under five minutes combined and should be done monthly.
The auto-reverse test checks the opener’s ability to reverse direction when the door strikes an object while closing. Here’s the procedure:
- Place a solid object flat on the floor in the path of the door. A 2×4 laid flat works well, or a full roll of paper towels.
- Close the door using the opener. The door should contact the object and reverse direction within two seconds of contact, returning to the fully open position.
- If the door stops and stays on the object, or if it pauses before reversing, the opener needs adjustment or repair.
The photo eye test is related and equally important. The photo eyes are the two small sensors mounted near the floor on either side of the door opening. Wave an object, a broom handle works well, through the invisible beam between the sensors while the door is closing. The door should reverse immediately. If it doesn’t, check that the sensors are aligned and not blocked by dust or cobwebs, which collect quickly in a Lakewood garage. A persistent failure usually means a wiring issue or a bad sensor.
The force-limit adjustment controls how much force the opener applies before it considers the door “closed” and stops the motor. If the force setting is too high, the door will press down hard on an obstruction before reversing. If it’s too low, the door won’t close fully and will reverse for no reason. You can test the setting by trying to hold the door back with your hands while it’s closing. The door should reverse with only moderate resistance. If it feels like it’s fighting you, the force setting is too high. This adjustment is specific to each opener model. LiftMaster and Chamberlain openers use different methods for adjusting force limits, and setting them incorrectly creates a safety hazard. If you’re not comfortable making this adjustment yourself, a garage door opener repair call is the right move. We’d rather tune an opener correctly than read about one that crushed a bicycle, or worse.
Note on safety: opener springs, cables, and the bottom bracket are under high tension. The force-limit test involves the door moving under power. Keep fingers and hands away from pinch points, and never reach between the door and the floor while the opener is running.
Track Alignment and Hardware Torque Checks
Tracks are the steel rails that guide the door from horizontal to vertical and back. They’re mounted to the wall and ceiling with brackets, and they need to be straight, parallel, and secure. You can do a basic track check yourself with a flashlight and a few minutes.
Start with the vertical tracks on both sides. Kneel down and sight along the track from the bottom. It should be perfectly straight. Any bowing, twisting, or visible gap between the track and the wall bracket is a problem. Then look at the transition where the vertical track curves into the horizontal track. That radius needs to be smooth. If the door hesitates, jumps, or makes a scraping sound as it passes through the curve, the track is likely misaligned or the door itself is out of square.
Loose mounting brackets are common on older Lakewood homes where the garage framing has settled or the drywall has softened with age. Grab each bracket and try to move it. It shouldn’t budge. A bracket that moves even slightly allows the track to flex under the weight of the door, which causes binding and accelerates roller wear. Tightening track bolts is simple maintenance, but only if the track is already straight. If the track itself is bent, tightening the bolts just locks in the problem. A bent track usually means the door was hit by a car at some point, or a roller failed and allowed the door to pull against the rail. That’s a repair situation, not an adjustment.
The hardware checklist extends to hinges, which we covered in the roller section, and the center bearing plate above the torsion spring assembly. The center bearing supports the torsion tube and sees significant load every cycle. Listen for squeaking from that area while the door operates. A dry or worn center bearing creates a high-pitched chirp that’s easy to mistake for a roller issue. Greasing it is sometimes enough; replacing it is more common on older doors that haven’t been maintained.
Finally, check the bolts that hold the opener to the ceiling structure, if you have an opener installed. We see many Raynor, Craftsman, and Wayne Dalton doors with original openers still hanging, and after fifteen or twenty years, the lag bolts can work loose. A vibrating opener is either loose at the mounting points or out of balance, and both get worse over time.
Lakewood Seasonal Maintenance Schedule
Lakewood doesn’t have harsh winters, which means your garage door gets a break from the extreme conditions that homeowners in colder climates deal with. But the schedule still matters because the failure modes here are different. Here’s a maintenance calendar we recommend for Lakewood homeowners.
Every Month (5 minutes)
- Run the auto-reverse test with an obstruction on the floor.
- Test the photo eyes by waving an object through the beam.
- Listen for new sounds during operation. Squeaks, pops, or grinding usually signal something before it fails.
Every Three Months (15 minutes)
- Run the door balance test described above.
- Inspect the bottom seal for cracks, flattening, or gaps.
- Check rollers for play and wheel damage.
- Wipe down the photo eye lenses with a dry cloth.
Every Six Months (30-45 minutes)
- Lubricate hinges and torsion springs using the product guide in this checklist.
- Check track alignment and tighten loose brackets.
- Inspect perimeter weatherstripping for brittleness.
- Test the opener force limit with a gentle hand check.
- Check opener mounting bolts.
Every Year (full inspection)
- Replace the bottom seal if it shows any signs of age.
- Consider replacing rollers if the originals are still in place.
- Inspect cables for fraying at the bottom bracket and the drum.
- Test the manual release to make sure it disconnects and reconnects smoothly.
- Check the torsion spring set for visible gaps in the coils, which indicate a spring that’s about to break.
This schedule won’t prevent every repair, but it catches most problems before they strand you. And because Lakewood homes range from original 1950s builds with aging hardware to newer construction with modern systems, there’s no single schedule that fits every door. If your opener is original to a 1985 home, your inspection schedule should be more aggressive than a homeowner with a three-year-old system. We’re happy to look at your specific door and tell you what makes sense. Garage Door Service Lakewood works on doors and openers across eight major brands including LiftMaster, Chamberlain, Genie, Clopay, Amarr, Wayne Dalton, Craftsman, and Raynor, so we can tell you what your particular system needs without guessing.
Common Mistakes to Avoid
- Using WD-40 as a garage door lubricant. WD-40 is a solvent and water displacer, not a lubricant for high-wear moving parts. It strips existing grease and leaves metal surfaces unprotected, which accelerates hinge and roller wear. Use the product types we outlined in the lubrication section.
- Greasing the torsion springs. Grease on spring coils collects dust in Lakewood’s dry environment and turns into a grinding paste. Use spray silicone only.
- Ignoring a door that drifts down on the balance test. Every month you run a heavy door, you add stress to the opener gearbox. A spring adjustment is cheaper than an opener replacement, but only if you catch it before the motor burns out.
- Replacing one roller at a time. Rollers age together. Replacing one roller means you’ll replace another one in a few months, and you’ll keep paying for service visits instead of doing the whole set once.
- Adjusting the opener force limit without understanding what you’re changing. Setting force too high defeats the auto-reverse safety system. Setting it too low keeps the door from closing. This is a calibration, not a volume knob, and a wrong setting is a safety issue.
- Ignoring a noisy door because “it’s always been that way.” Grinding and scraping are symptoms of worn components, not personality traits. A door that was quiet when new and is loud now has a mechanical issue that’s getting worse.
- Failing to test the emergency release. The red cord that hangs from the opener rail is your manual override during a power outage. If it doesn’t disconnect cleanly when you pull it, you’ll find out at the worst possible time.
When to Call a Professional
Some maintenance tasks are DIY-friendly. Lubrication, roller inspection, weatherstripping replacement, and the safety tests are all things a careful homeowner can handle. But certain conditions call for a trained technician, and trying to fix them yourself can turn a $200 repair into a $1,200 replacement. Torsion springs carry enough stored energy to cause serious injury if they snap while being serviced. Cables under tension can cut through flesh. A door that comes off its track can fall with hundreds of pounds of force. If your balance test shows the door is heavy and the springs need adjustment, call a professional. If you see frayed cables or gaps in the spring coils, call a professional. If your door has jumped a roller out of the track, don’t run the opener. Call a professional. Garage Door Service Lakewood offers free estimates in Lakewood, call (866) 596-9807. We answer 24/7. Fast dispatch from 7am to 7pm, Sunday through Friday.
Frequently Asked Questions
Lubricate the torsion springs and hinge pivot points every six months in Lakewood. The dry climate doesn’t wash away lubricant quickly, but dust accumulation means the lubricant becomes less effective over time. If your door sits on a busy street or you park in the garage daily, you may benefit from lubricating every four months.
Use a spray silicone on exposed roller bearings and nothing at all on sealed bearing nylon rollers. White lithium grease is for hinge pivot points, not rollers. Grease on rollers attracts dust and creates more wear than it prevents. Call (866) 596-9807 if you’re not sure which type of roller your door has.
Run the balance test. Disconnect the opener, lift the door to waist height, and release it. If the door drifts down, the springs have lost tension and need adjustment or replacement. Visible gaps between the coils of a torsion spring also indicate imminent failure. Broken springs are a professional repair, not a DIY project.
The most common causes are misaligned photo eyes, an obstruction in the door’s path, or a force limit that’s set too low. Check the sensor alignment first and clean the lenses. If the problem persists, the force setting may need calibration or the opener’s logic board may be failing. A garage door opener repair call can diagnose the cause in one visit.
Yes, but getting the correct seal profile for your specific door matters. Bottom seals are not universal, and a seal designed for a Clopay door may not seat correctly on an Amarr door. Check the manufacturer and model of your door before buying a replacement, or contact us and we’ll identify the right part during a service visit.
The cost depends on what’s found during the inspection. We offer free estimates, and the price is set per job by the written estimate before any work begins. You’ll see the number upfront, on paper, and nothing starts until you approve it. Call (866) 596-9807 for an exact quote. We answer 24/7. Fast dispatch from 7am to 7pm, Sunday through Friday.
The Bottom Line
A garage door is a mechanical system, not a magical box that opens your driveway. It has moving parts that wear, springs that fatigue, and safety systems that need verification. The maintenance checklist above gives you what a technician would check on a service call in Lakewood: the balance test, component-specific lubrication, roller thresholds, weatherstripping condition, track integrity, and opener safety tests. Run the monthly items consistently, the quarterly items without fail, and the seasonal items on schedule. You’ll prevent most emergency repairs, extend the life of your opener, and know when to call for professional help before a minor issue gets expensive. Written by the team at Garage Door Service Lakewood, serving Lakewood since 2013.
See the difference
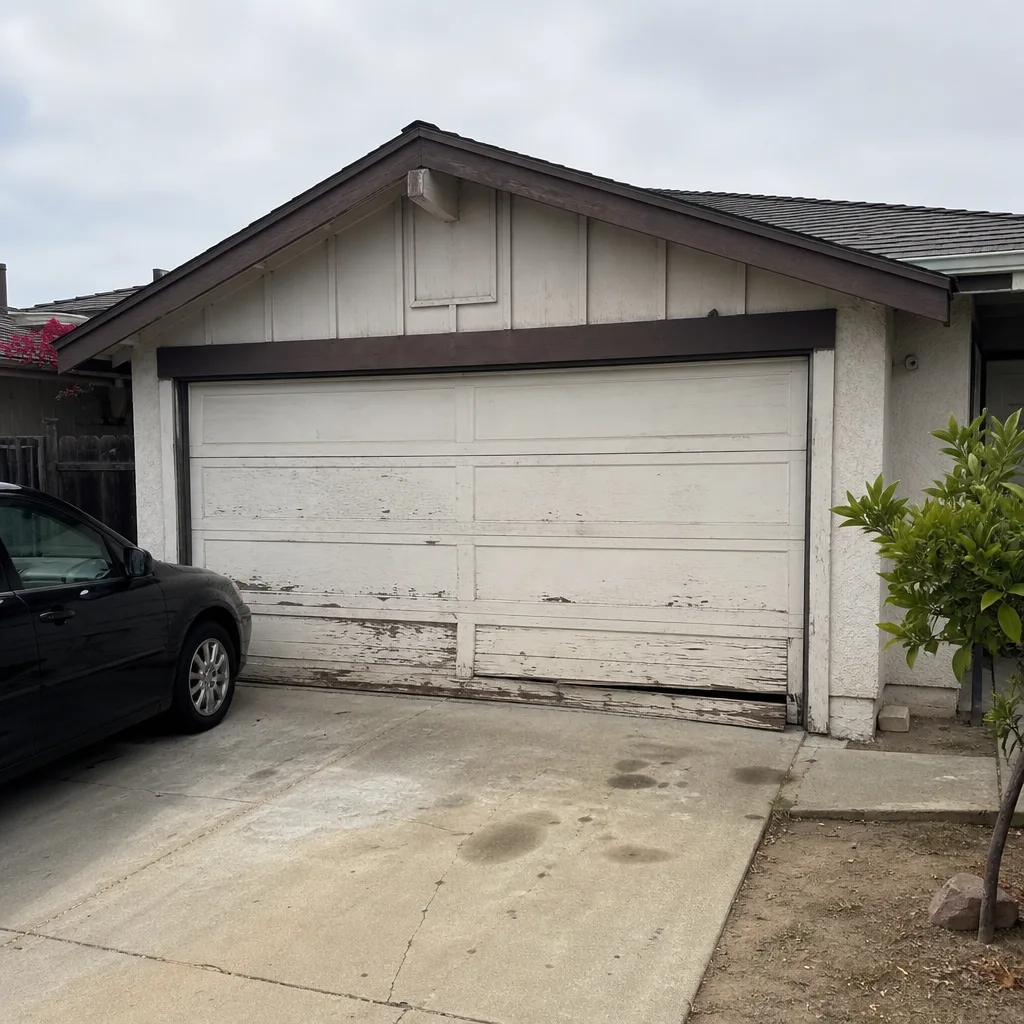 Before
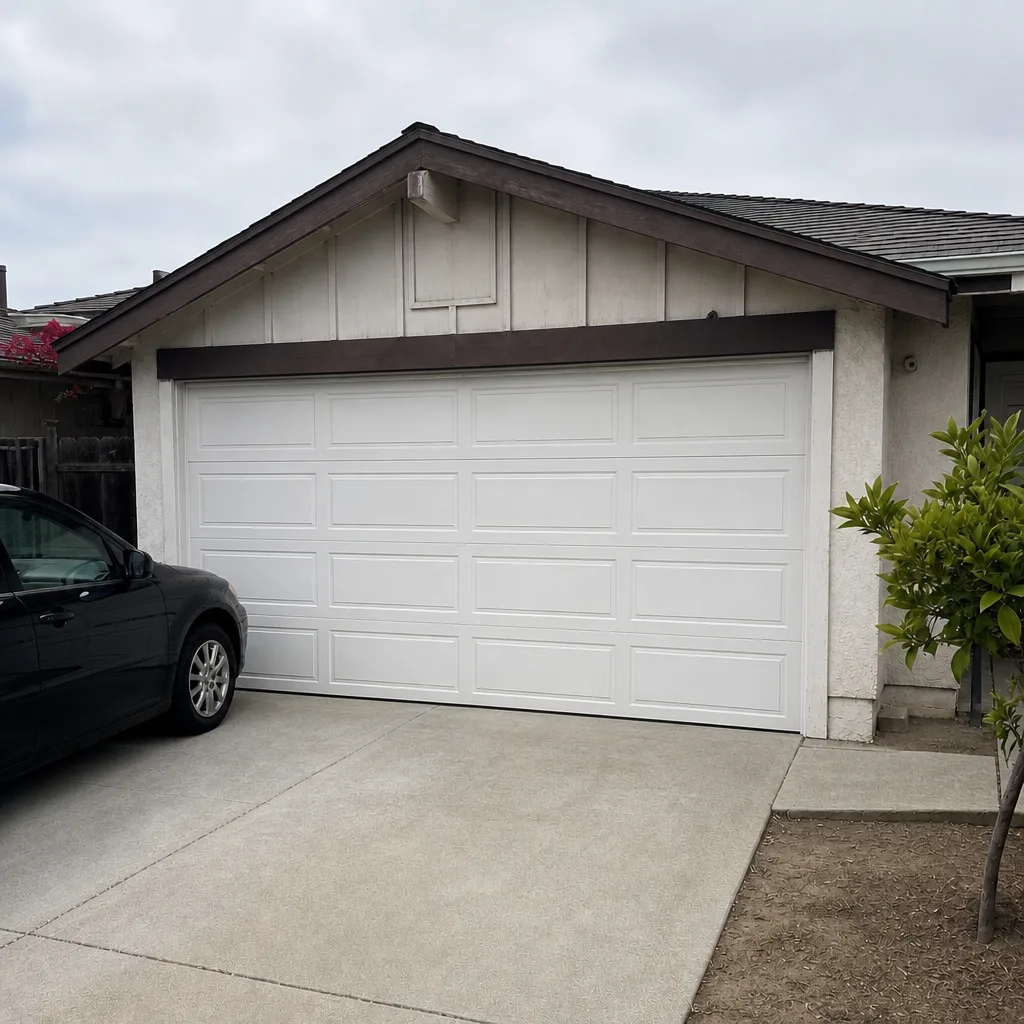 After
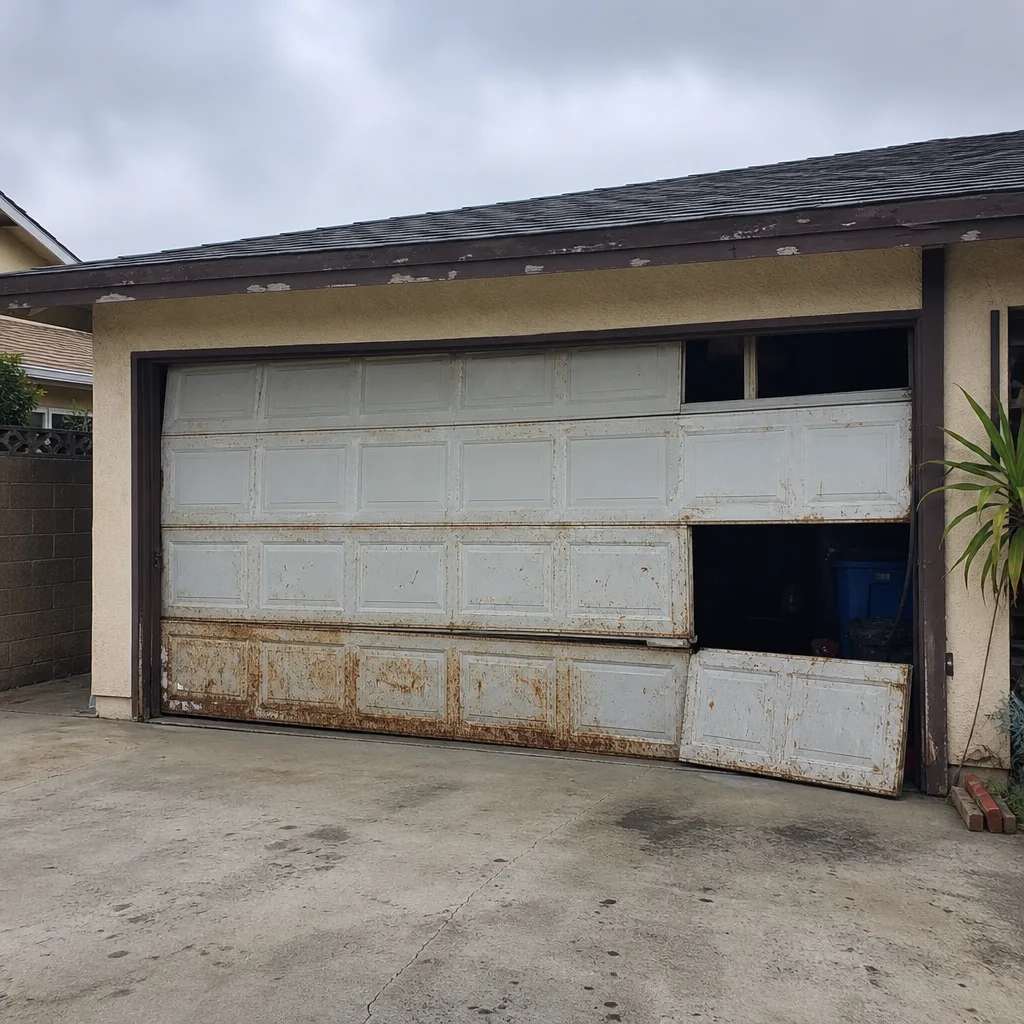 Before
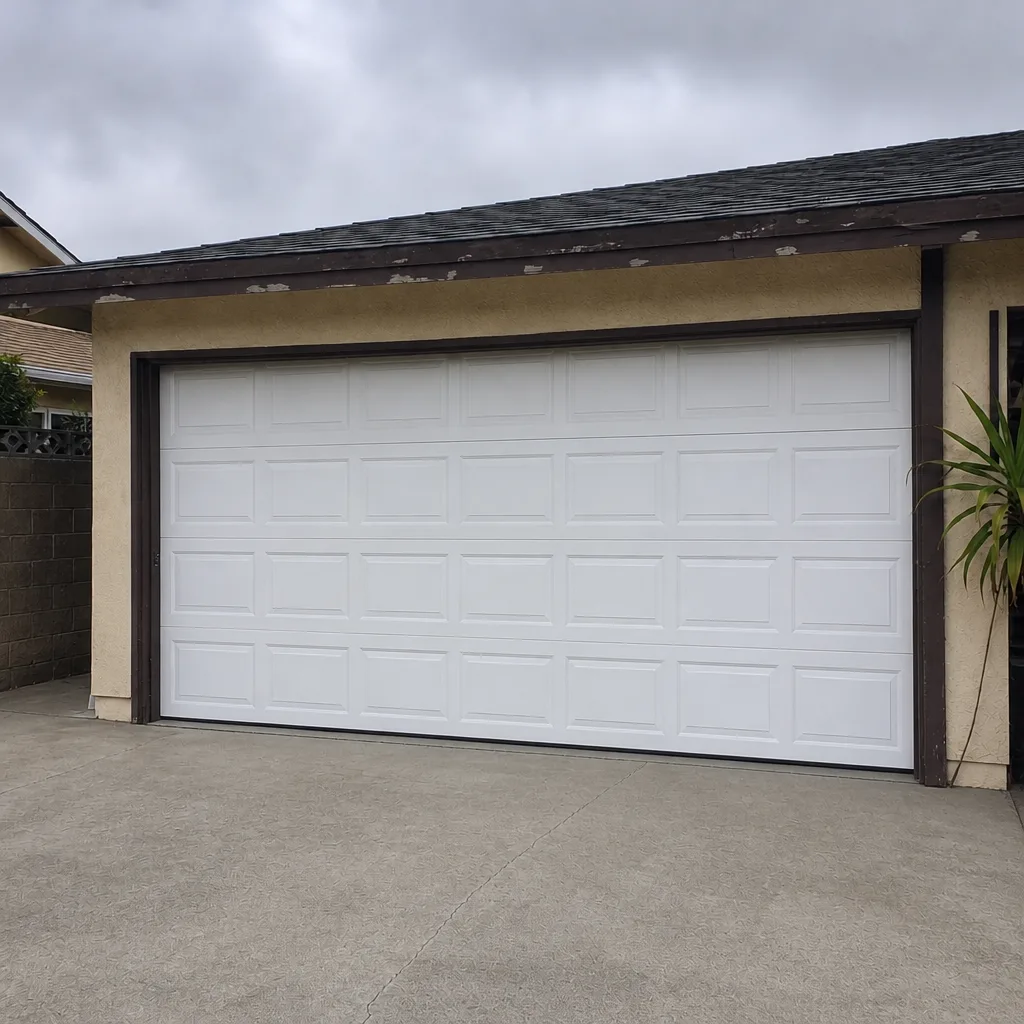 After
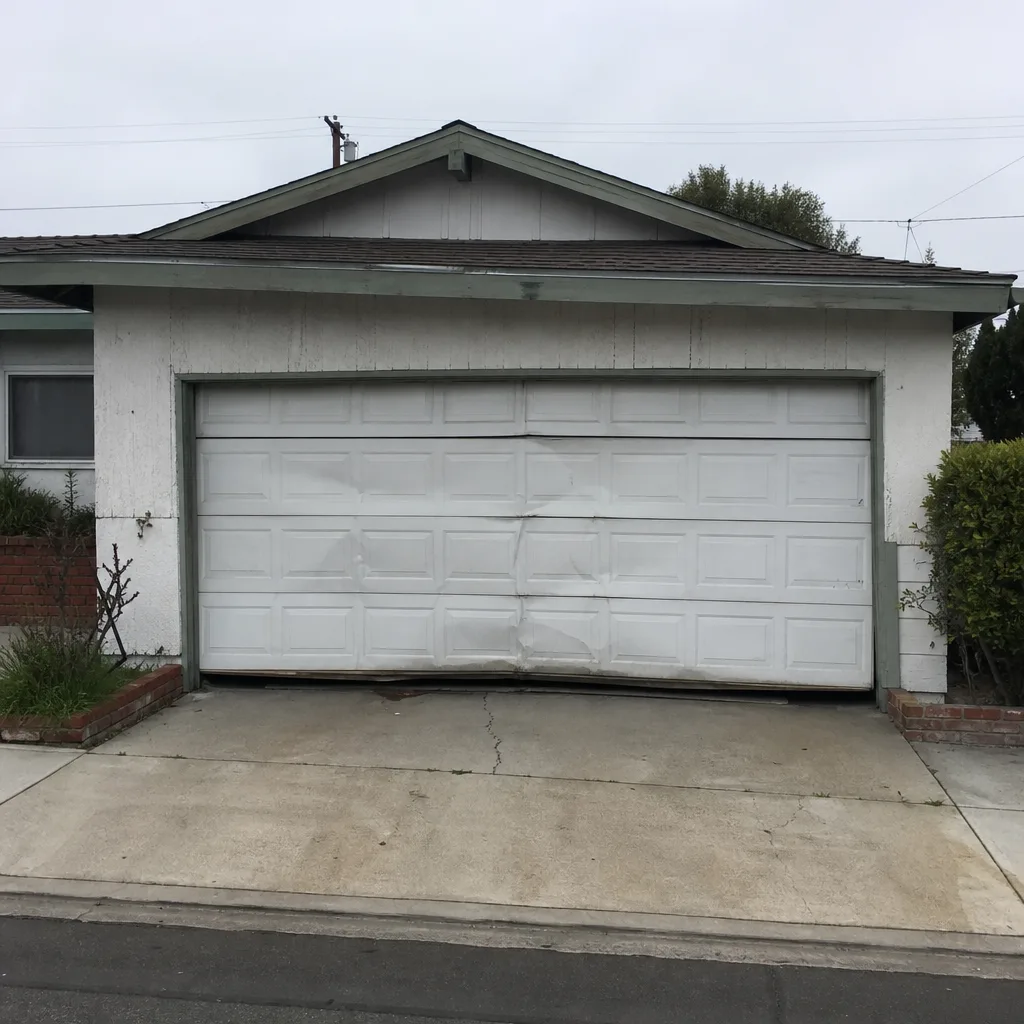 Before
 After